Message Templates
A range of templates for messaging can be created and organised with the Message Templates List.
When you select Message Templates from the Cloudwork dashboard menu, the Message Templates List displays. This includes a list of existing templates as well as the option to create a New Message Template.
Contents
Variables for message templates
For each type of message template there are standard variables which may be included in any field, for example $first_name and $last_name. When the message is sent the variables will be replaced with the relevant values for the individual user.
You can also use as variables any extra attributes you have set up for your users, such as $salutation or $SIS_ID.
Note that a variable that cannot be resolved (i.e. it is not one of the standardised variables or one of a user's custom attributes) will be left in the message unchanged.
A single dollar sign ($) precedes the variable name. If you need to include an actual dollar sign in your message, type two dollar signs ($$).
Create a new message template
Click the New Message Template button to display a list of template types for your school. These may include:
- Welcome Email(Click here for more information)
- Forgot Password email(Click here for more information)
- Forgot Password SMS(Click here for more information)
- Forgot Username Email(Click here for more information)
Select the type of message template to be created and complete the required details.
Edit Message Template
1. Select Message Templates from the Cloudwork dashboard menu to display the Message Templates List.
2. Click the link for the template to be updated.
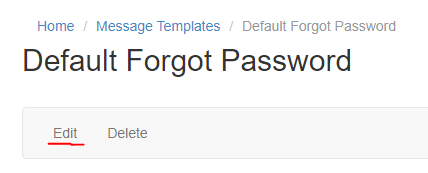
3. In the window that opens, click Edit and update the template details as needed.
4. Click Submit.
Delete Message Template
1. Select Message Templates from the Cloudwork dashboard menu to display the Message Templates List.
2. Click the link for the template to be deleted.
3. In the window that opens, confirm that you have selected the correct template and click Delete near the top of the page.
4. Confirm the delete request.

