Difference between revisions of "Paperly"
Jump to navigation
Jump to search
(Created page with "==SSO Setup with Paperly== #Go to '''Cloudwork Dashboard'''>'''Single Sign On'''>'''Identity Provider'''>'''XML file'''>'''Download'''<br>File:Xml_download.PNG|300px|centre|...") |
|||
| Line 12: | Line 12: | ||
Could you please provide Paperly's Metadata Information? | Could you please provide Paperly's Metadata Information? | ||
| − | Test User Information: | + | Test User Information:<br> |
| − | Username: <Test User's username> | + | Username: <Test User's username><br> |
| − | Password: <Test User's password> | + | Password: <Test User's password><br> |
</blockquote> | </blockquote> | ||
Revision as of 03:13, 21 September 2021
SSO Setup with Paperly
- Go to Cloudwork Dashboard>Single Sign On>Identity Provider>XML file>Download
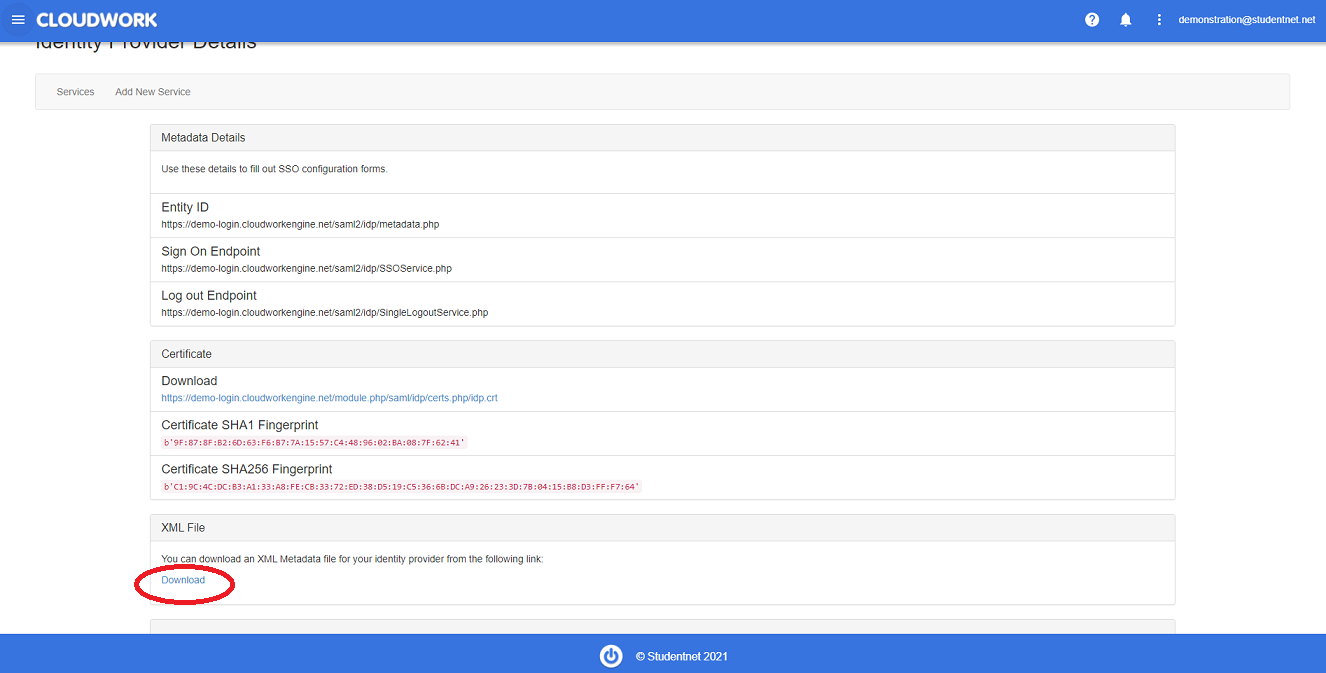 Location of XML File Download
 - Download the XML file
- Create a test user for Paperly to test with (To create a user in Cloudwork follow these instructions here)
- Following the template below, email Paperly(support@paperly.io) and attach the XML file from step 2

Email Template
Hi Paperly,
Attached is our school's XML File for Single Sign On with Studentnet. Could you please provide Paperly's Metadata Information?
Test User Information:
Username: <Test User's username>
Password: <Test User's password>
SSO Setup with Cloudwork
After receiving a response from Paperly
- Navigate to Single Sign On>Add New Service>Custom SAML Service
- Fill out the form:
- Name = Paperly
- Entity ID =Entity ID from email
- ACS = Reply URL from email
- Single Logout Service = Logout URL from email
- NameID Format = select from drop down urn:oasis:names:tc:SAML:1.1:nameid-format:unspecified
- Name ID = From the drop down select Email
- Login URL = Login URL from email
- Click Submit