Difference between revisions of "Updating Adobe SAML Certificate"
Jump to navigation
Jump to search
Jrobertson (talk | contribs) |
Jrobertson (talk | contribs) |
||
| Line 4: | Line 4: | ||
#Go to Adobe’s Admin Console | #Go to Adobe’s Admin Console | ||
#Go to Settings > Identity Settings > Authentication | #Go to Settings > Identity Settings > Authentication | ||
| − | #Select “Edit” on the default SAML Provider<br>[[image:adobefirst.png]] | + | #Select “Edit” on the default SAML Provider<br>[[image:adobefirst.png]]<br> |
| + | #On the Edit configuration, click on the 3rd step “ Certificates”, and select “Create a certificate signing request”<br>[[image:adobesecond.png]]<br> | ||
| + | #Fill out the form and submit it. | ||
| + | #Once a new certificate has been created, select “Download certificate” from the Actions down menu options.<br>[[adobethird.png]]]<br> | ||
| + | |||
Revision as of 03:38, 14 January 2025
How to update your Adobe SAML certificate when it is expiring:
Generate a new signing certificate on the Adobe Admin Console
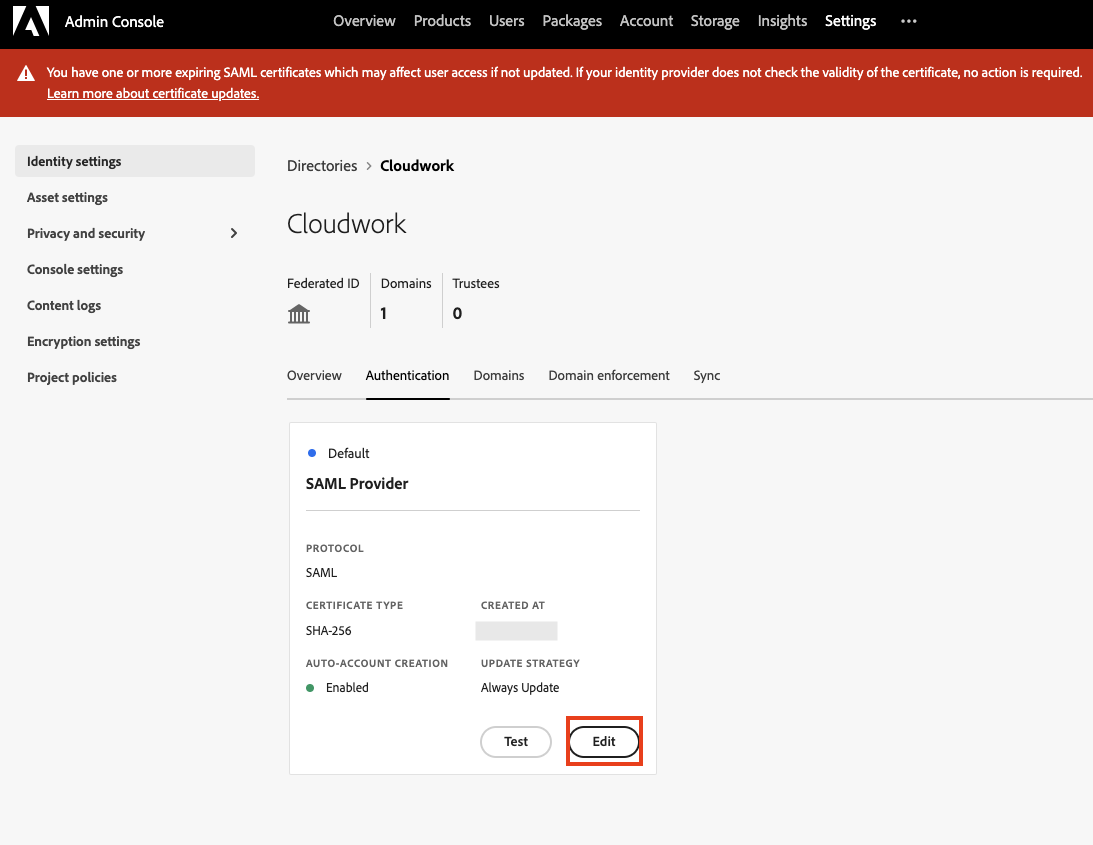
- Go to Adobe’s Admin Console
- Go to Settings > Identity Settings > Authentication
- Select “Edit” on the default SAML Provider
- On the Edit configuration, click on the 3rd step “ Certificates”, and select “Create a certificate signing request”
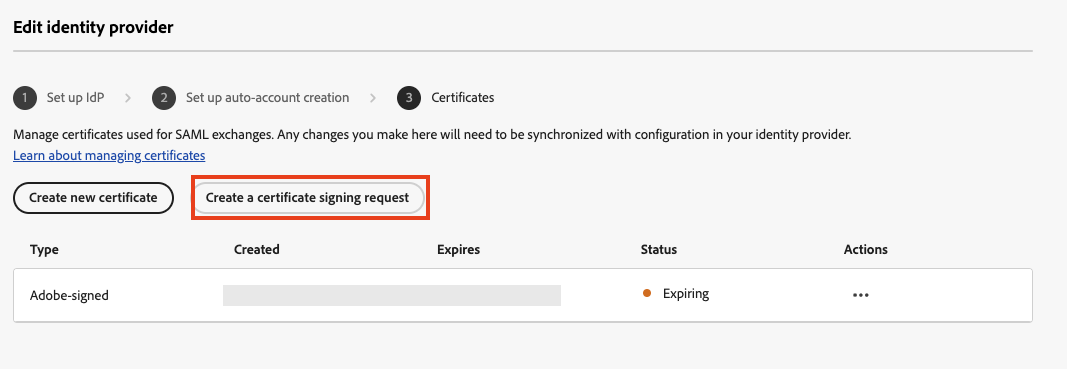
- Fill out the form and submit it.
- Once a new certificate has been created, select “Download certificate” from the Actions down menu options.
adobethird.png]

