Difference between revisions of "Moodle"
Jump to navigation
Jump to search
| Line 17: | Line 17: | ||
# Click '''Save changes''' | # Click '''Save changes''' | ||
# Log in to the Cloudwork Dashboard. Go to '''Single Sign on'''>'''Add New Service'''>'''Upload an XML File''' | # Log in to the Cloudwork Dashboard. Go to '''Single Sign on'''>'''Add New Service'''>'''Upload an XML File''' | ||
| − | # | + | # Fill out the form: |
| + | #* '''Name''': Moodle | ||
| + | #* '''Choose an XML File''': Upload the XML file from step 6 | ||
# Open a new browser or incognito window, and test login. You will see a Login via SAML2 button on the login page. | # Open a new browser or incognito window, and test login. You will see a Login via SAML2 button on the login page. | ||
Latest revision as of 01:56, 14 October 2021
This guide assumes that you have installed the following SAML2 plugin for your Moodle website: https://moodle.org/plugins/auth_saml2
Before you start, you need your IdP metadata url.
- Get your metadata URL - Log in to Cloudwork Dashboard>Single Sign On>Identity Provider>Entity ID
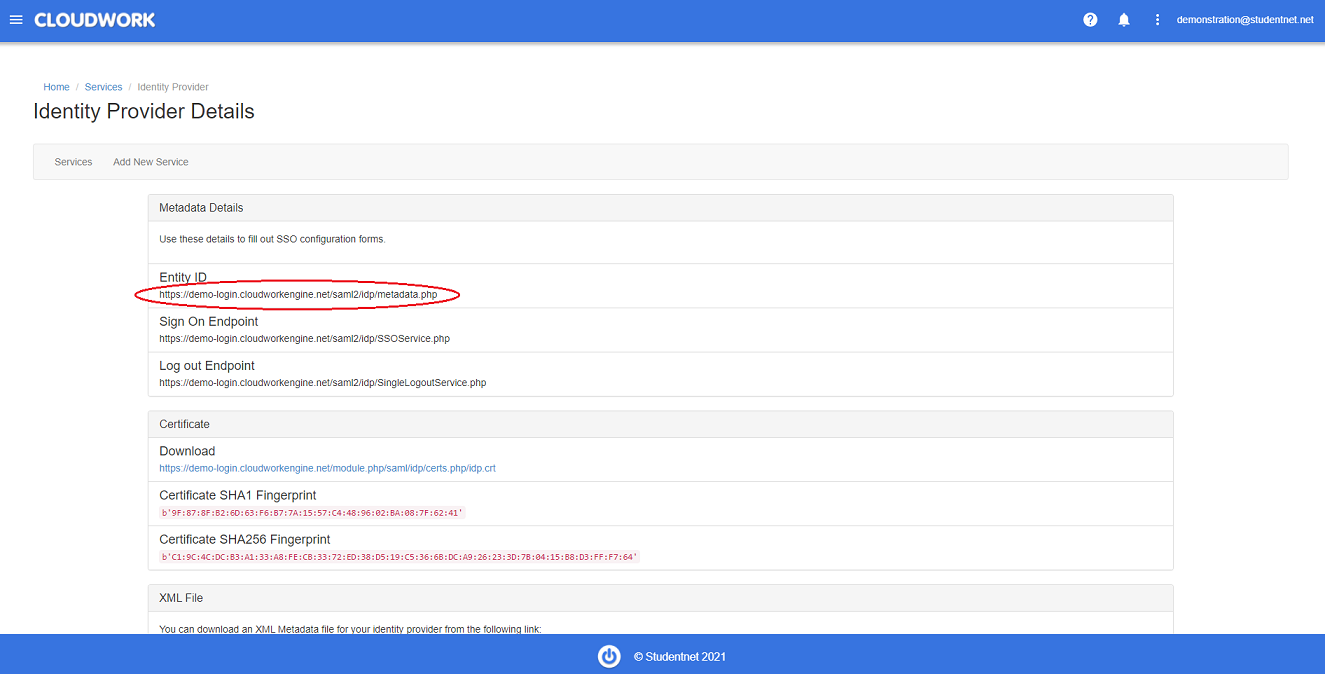 Example of Entity ID
 - Copy the Entity ID
- Enable the SAML2 plugin (click the grey crossed-out eye)
- Go to the SAML2 plugin's settings
- Paste the Entity ID from step 2 into the IDP metadata xml OR publix xml URL field
- Click on Download SP Metadata
- If you are mapping users on username, change Mapping Idp value to User-Name
- To create accounts automatically on SSO login, change 'Auto create users' to Yes.
- Under Data mapping, update the following settings:
- Data mapping (First name): givenName
- Data mapping (Surname): sn
- Data mapping (Email address): mail
- Click Save changes
- Log in to the Cloudwork Dashboard. Go to Single Sign on>Add New Service>Upload an XML File
- Fill out the form:
- Name: Moodle
- Choose an XML File: Upload the XML file from step 6
- Open a new browser or incognito window, and test login. You will see a Login via SAML2 button on the login page.

SSO is now configured and working. You may now wish to configure other settings in the Moodle plugin settings. Settings of interest:
- IdP label override: Customise the SSO login button text.
- Dual login: By default, allows username/password based logins as well. Change to no to force users to use SSO. Admin login page is still accessible at /login/index.php?saml=off
- Other data mapping fields and settings. This guide limits itself to Cloudwork's default attributes. If you have updated the service's attribute map in Cloudwork to send extra data, you can configure it here.