Message Templates
A range of templates for messaging can be created and organised with the Message Templates List.
When you select Message Templates from the Cloudwork dashboard menu, the Message Templates List displays. This includes a list of existing templates as well as the option to create a New Message Template.
Contents
Variables for message templates
For each type of message template there are standard variables which may be included in any field, for example $first_name and $last_name. When the message is sent the variables will be replaced with the relevant values for the individual user.
You can also use as variables any extra attributes you have set up for your users, such as $salutation or $SIS_ID.
Note that a variable that cannot be resolved (i.e. it is not one of the standardised variables or one of a user's custom attributes) will be left in the message unchanged.
A single dollar sign ($) precedes the variable name. If you need to include an actual dollar sign in your message, type two dollar signs ($$).
Create a new message template
Click the New Message Template button to display a list of template types for your school. These may include:
- Welcome email
- Forgot password email
- Forgot password SMS
- Forgot username.
Select the type of message template to be created and complete the required details.
Welcome Email template
This template can be used to send welcome messages to new users.
You can use these standard variables in any field of the Welcome Email template:
- $user_name: The new user's username.
- $email: The new user's email address.
- $first_name: The new user's first name.
- $last_name: The new user's last name.
- $password_reset_link: A link to start the Password Recovery process.
- $change_password_link: A unique link for this user to immediately change their password.
- $recovery_email: The new user's recovery email address.
- $recovery_phone: The new user's recovery phone number.
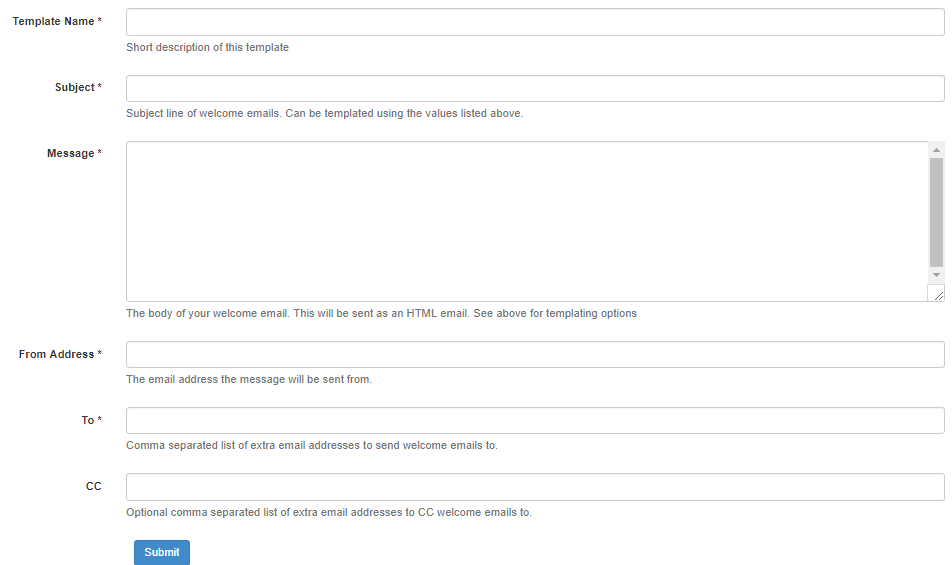
Complete the following fields for the new template:
- Template Name: A short description of the email (this will display in the Message Templates List)
- Subject: Subject line for the email
- Message: Text of the email, written in html
- From Address: The sending email address
- To: Email address(es) to receive the email. Separate multiple addresses with commas.
Note: This email address should be an existing one to ensure the user will receive and see the message, often a personal email address.
- CC: Optional email address(es) to individuals or teams who should be notified of the new user's addition to Cloudwork, for example the support person at the school or the parent for a new student account. Separate multiple addresses with commas.
Click Submit to create the new template.
This is an example of the form for writing a Welcome Email template.
When is a Welcome Email sent?
- A Welcome Email can be initiated from the User's detail screen.
1. Select Users from the Cloudwork dashboard menu, then select the user from the Users List to display their details.
2. Click the Send Welcome Message button near the top of the screen.
3. Select the Welcome Message template you want, then click Submit to initiate the send.
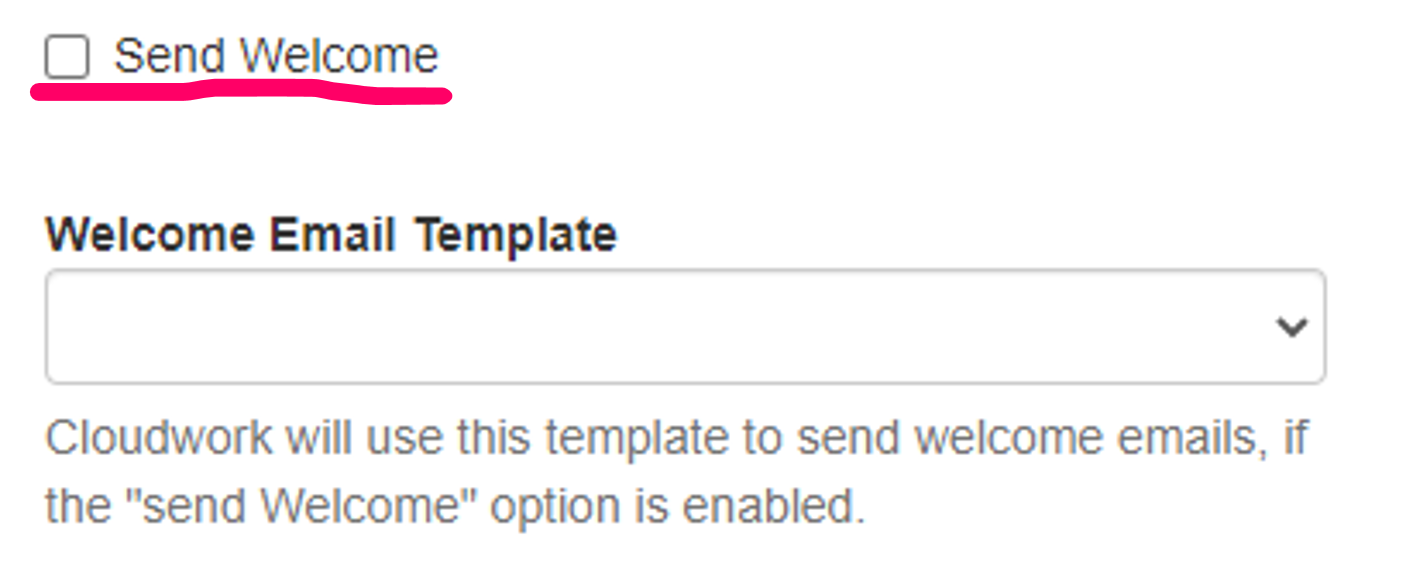
- A Welcome Email can be initiated from a sync profile run. When you tick the Send Welcome Message box under Advanced Settings this will send every new user that is added with the sync profile a welcome message.
Important: Adding new users to Cloudwork may involve more than one synchronisation. For example, a user may be added during an Active Directory synchronisation and then additional information about the user comes from a different sync run. If you want to initiate Welcome Emails from a sync run, ensure that it is the later sync run that initiates the emails so that all user details required to populate the email are in Cloudwork.
1. Select Sync Profiles from the Cloudwork dashboard menu, then select the profile from the Sync Profile List.
2. In Advanced Settings there are two fields: Send Welcome Messages and Welcome Message Template. Edit these as needed to specify initiation of a welcome email when a sync run adds new users.
Studentnet is working to develop additional options for automating Welcome Emails to users. If you wish to contact Studentnet to discuss your requirements, contact support@studentnet.net
Bulk Send Welcome Message
- After creating a Welcome Message Template, you will be brought back to Message Template List.
- Click on the Welcome Message Template you just created.
- Click Send
- From here you can filter out users based on rules you create.
- Select should the filter include Suspended users with the checkbox labelled Include Suspended Users
- Once you have created your filter click continue
- The next page will display the users that match your filter, these users will be sent the Welcome Message. If these users are not the expected users click cancel to return to the filtering process.
- If the users shown are the intended users for receiving the Welcome Message, and you wish that further welcome messages not be sent to the users tick the checkbox labelled Mark user as having Welcome Message already been sent
- Click Continue to send the Welcome Message.
Notes
- The To field will only send the Welcome Message to the email address(es) in that field. No other email address will receive the email.
- If multiple email addresses are entered into the To field, when the email is sent through, the only email address the recipient will see is their own email address.
- The To field can customise the layout of the email clients To field. By having
$first_name $last_name <$email>
in the Welcome Message To field, when the Welcome Message is sent, the email client will display the email was sent totest example <example@email.com>
Forgotten Password template
This template can be used when sending recovery codes via email for users who are attempting to reset their password.
You can use these standard variables in any field of the Welcome Email template:
- $user_name: The user's username.
- $code: The recovery code needed by the user to reset their password.
- $continue_link: A link to continue the Password Recovery process.
- $email: The user's email address.
- $first_name: The user's first name.
- $last_name: The user's last name.
- $password_reset_link: A link to initiate Password Recovery.
- $recovery_email: The user's recovery email address.
- $recovery_phone: The user's recovery phone number.
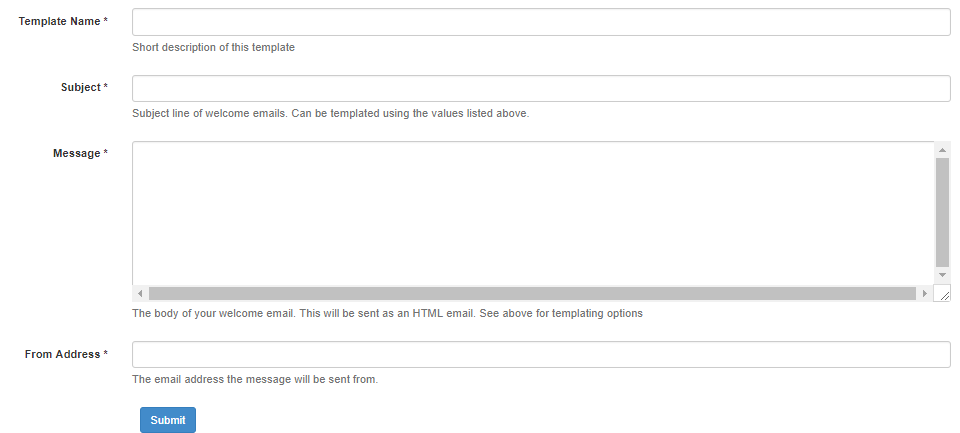
Complete the following fields for the new template:
- Template Name: A short description of the email (this will display in the Message Templates List)
- Subject: Subject line for the email
- Message: Text of the email, written in html
- From Address: The sending email address
Click Submit to create the new template.
An example of the form for writing a forgotten password template and an example of a message can be found below.
Example Password recovery message
Hi $first_name,

You've recently made a request to reset your Cloudwork password. Click <a href="$continue_link">here</a> to reset your password, or provide the following code in your browser when prompted:
$code

If you did not try to reset your password, please ignore this email.

Sincerely,
The Studentnet Support team
Forgotten Password SMS template
This template can be used when sending recovery codes via SMS for users who are attempting to reset their password.
You can use the following standard variables for this message:
- $user_name: The user's username.
- $code: The recovery code needed by the user to reset their password.
- $email: The user's email address.
- $first_name: The user's first name.
- $last_name: The user's last name.
- $recovery_email: The user's recovery email address.
- $recovery_phone: The user's recovery phone number.
Complete the following fields for the new template:
- Template Name: A short description of the email (this will display in the Message Templates List)
- Message: Text of the message, written in html
Click Submit to create the new template.
Example Forgotten Password SMS template
Hi $first_name,

You've recently made a request to reset your Cloudwork password. Here is your recovery code!
$code

If you did not try to reset your password, please ignore this message.

Sincerely, The Studentnet Support team
Forgotten Username Email template
This template can be used when sending a reminder via email to a user who has forgotten their username.
You can use the following standard variables in any field for this message:
- $user_name: The user's username.
- $email: The user's email address.
- $first_name: The user's first name.
- $last_name: The user's last name.
- $password_reset_link: A link to initiate Password Recovery.
- $recovery_email: The user's recovery email address.
- $recovery_phone: The user's recovery phone number.
- $usernames_ul: Render an HTML list of all usernames of all accounts that share the supplied recovery email address
Complete the following fields for the new template:
- Template Name: A short description of the email (this will display in the Message Templates List)
- Subject: Subject line for the email
- Message: Text of the email, written in html
- From Address: The sending email address
Click Submit to create the new template.
Example Forgotten Email Template
Hi $first_name,

You've recently made a request to find your username. Here is your username!

Username: $user_name

If you did not request your username, please ignore this message.

Sincerely, The Studentnet Support team
Edit Message Template
1. Select Message Templates from the Cloudwork dashboard menu to display the Message Templates List.
2. Click the link for the template to be updated.
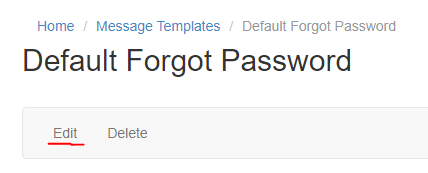
3. In the window that opens, click Edit and update the template details as needed.
4. Click Submit.
Delete Message Template
1. Select Message Templates from the Cloudwork dashboard menu to display the Message Templates List.
2. Click the link for the template to be deleted.
3. In the window that opens, confirm that you have selected the correct template and click Delete near the top of the page.
4. Confirm the delete request.


