TASS Sync Profiles
Contents
Tass
Tass Syncing will allow IT admins to pull selected users from Tass.
These users include Students, Staff and Parents.
Parents can also be classified as split parents in Tass.
Cloudwork is able to tell apart split parents.
Split Parents
Split Parent in Cloudwork
Split parents are handled in Cloudwork by determining whether both split parents have the same or different user_code
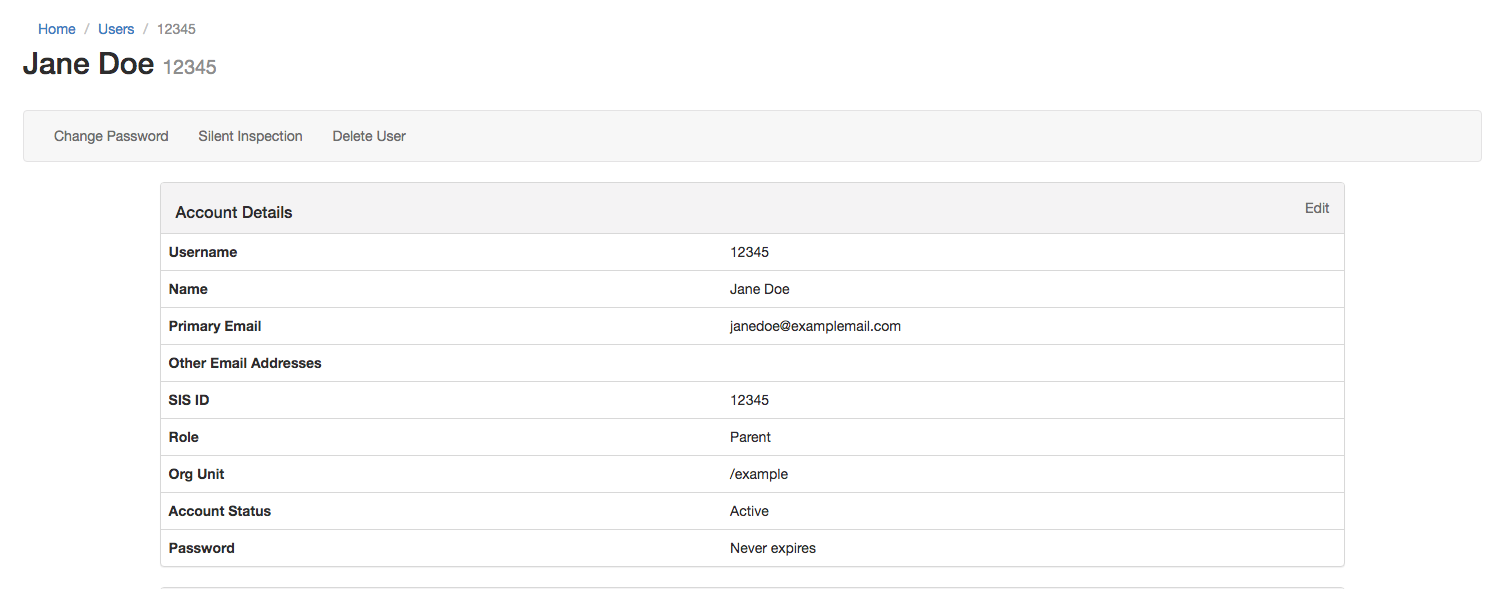
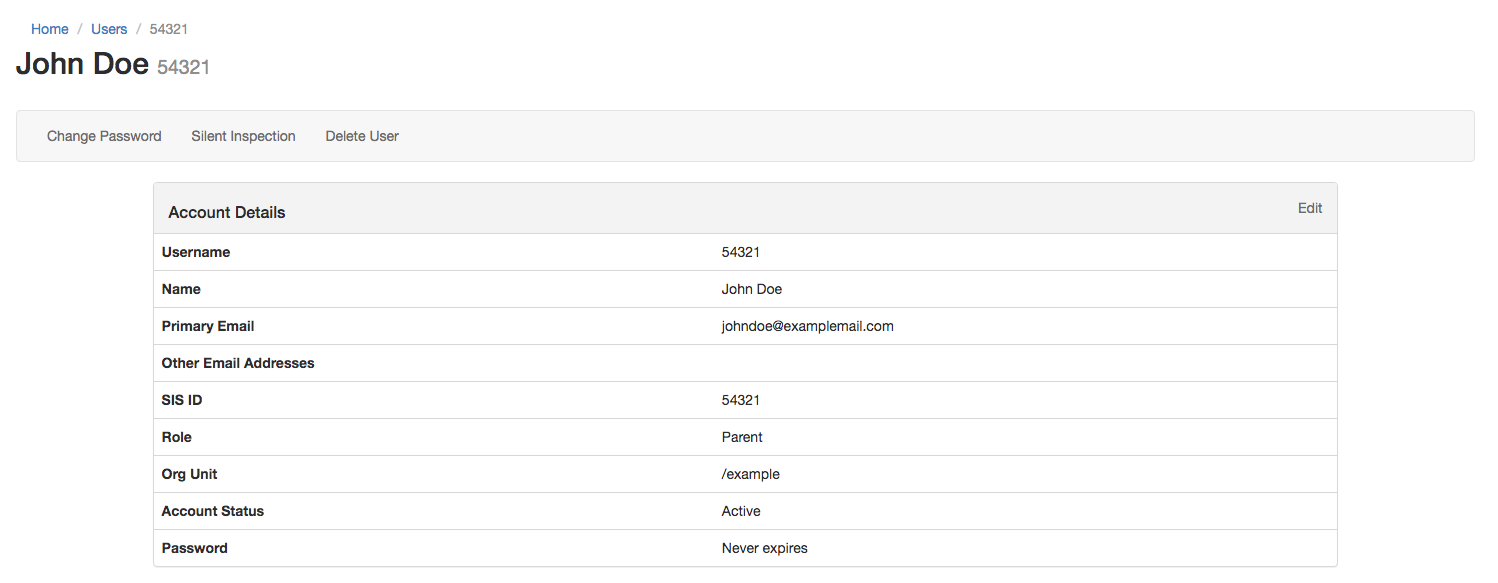
Split Parents with different user_codes
Split Parents created in Tass with user_codes are displayed on Cloudwork as:
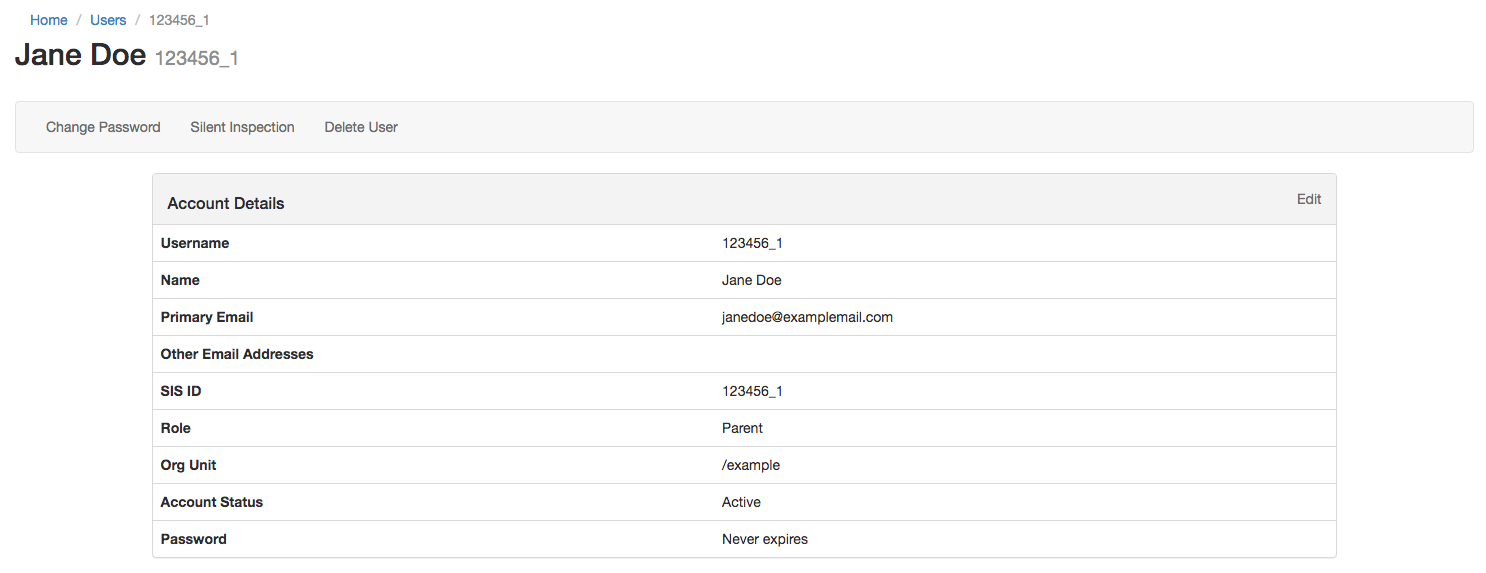
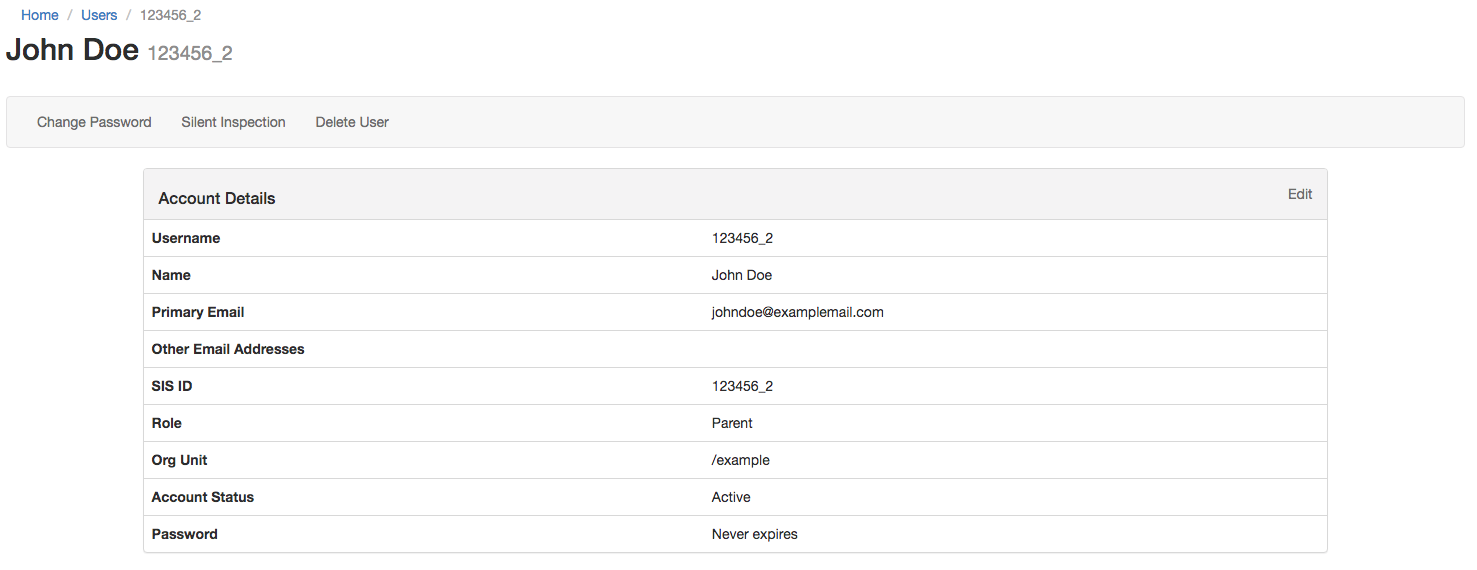
Split Parents with same user_code
Split Parents sharing one user_code, when creating separate accounts, in Cloudwork, the sfa_num will be added to Parents user_code to distinguish them.
Cloudwork Syncing Instructions
Credentials needed
- Token key
- App Code
- API Version
- Company Code
- Endpoint
Credentials located in Tass>System Admin>Utilities>API Gateway Maintenance
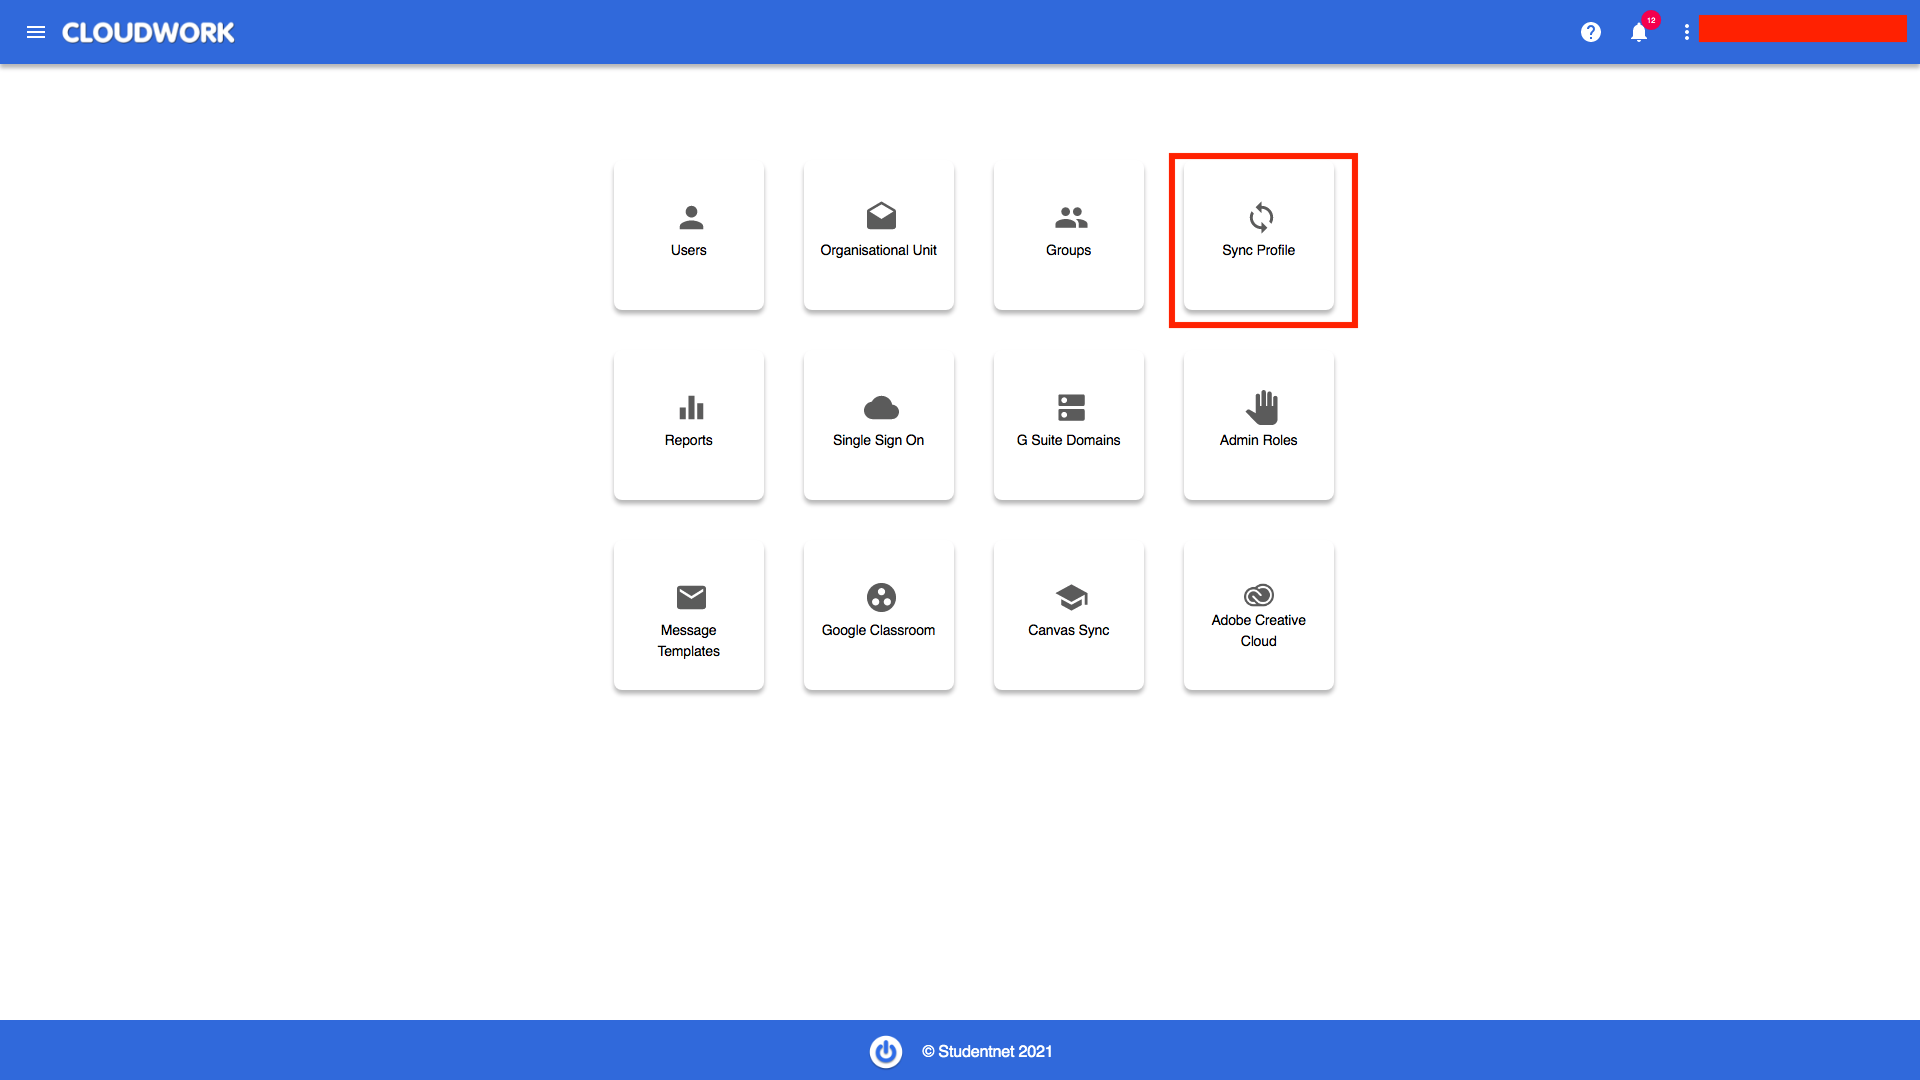
Login to Cloudwork Dashboard and click Sync Profile
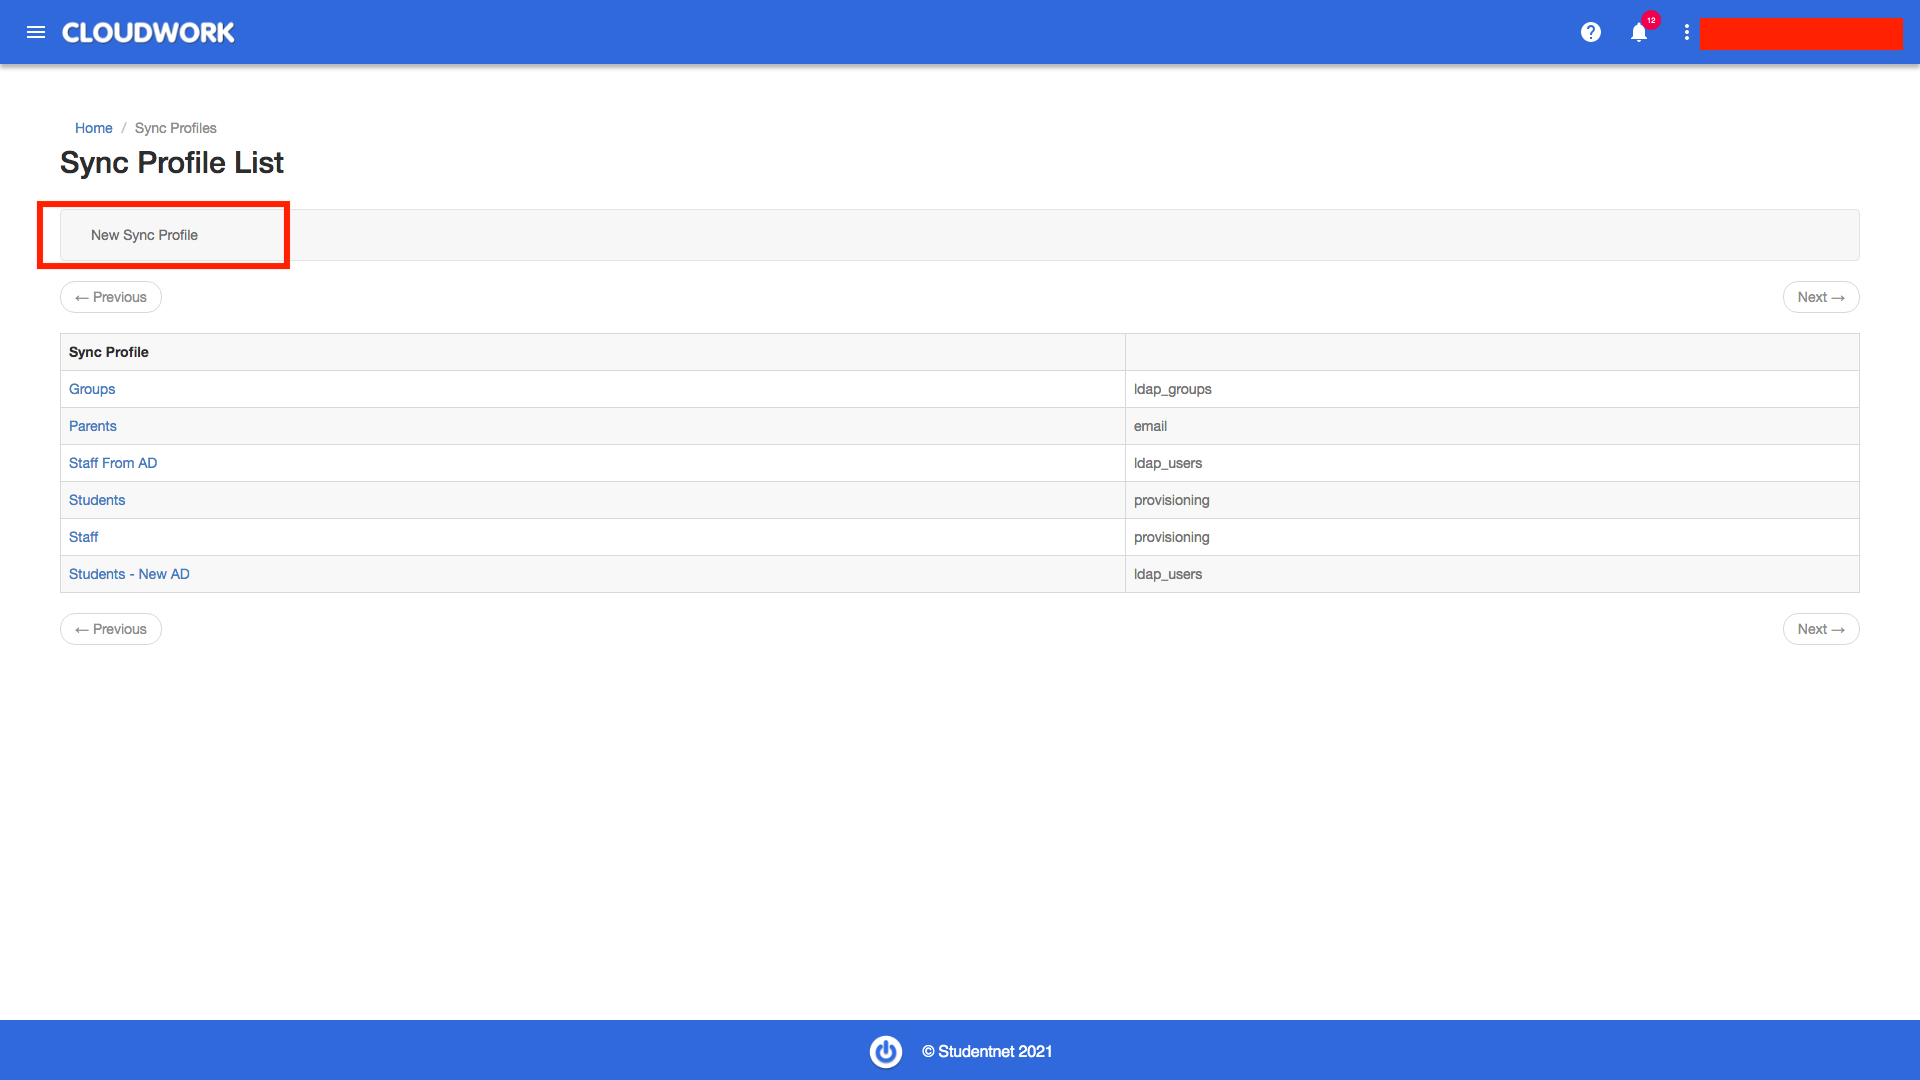
Click New Sync Profile
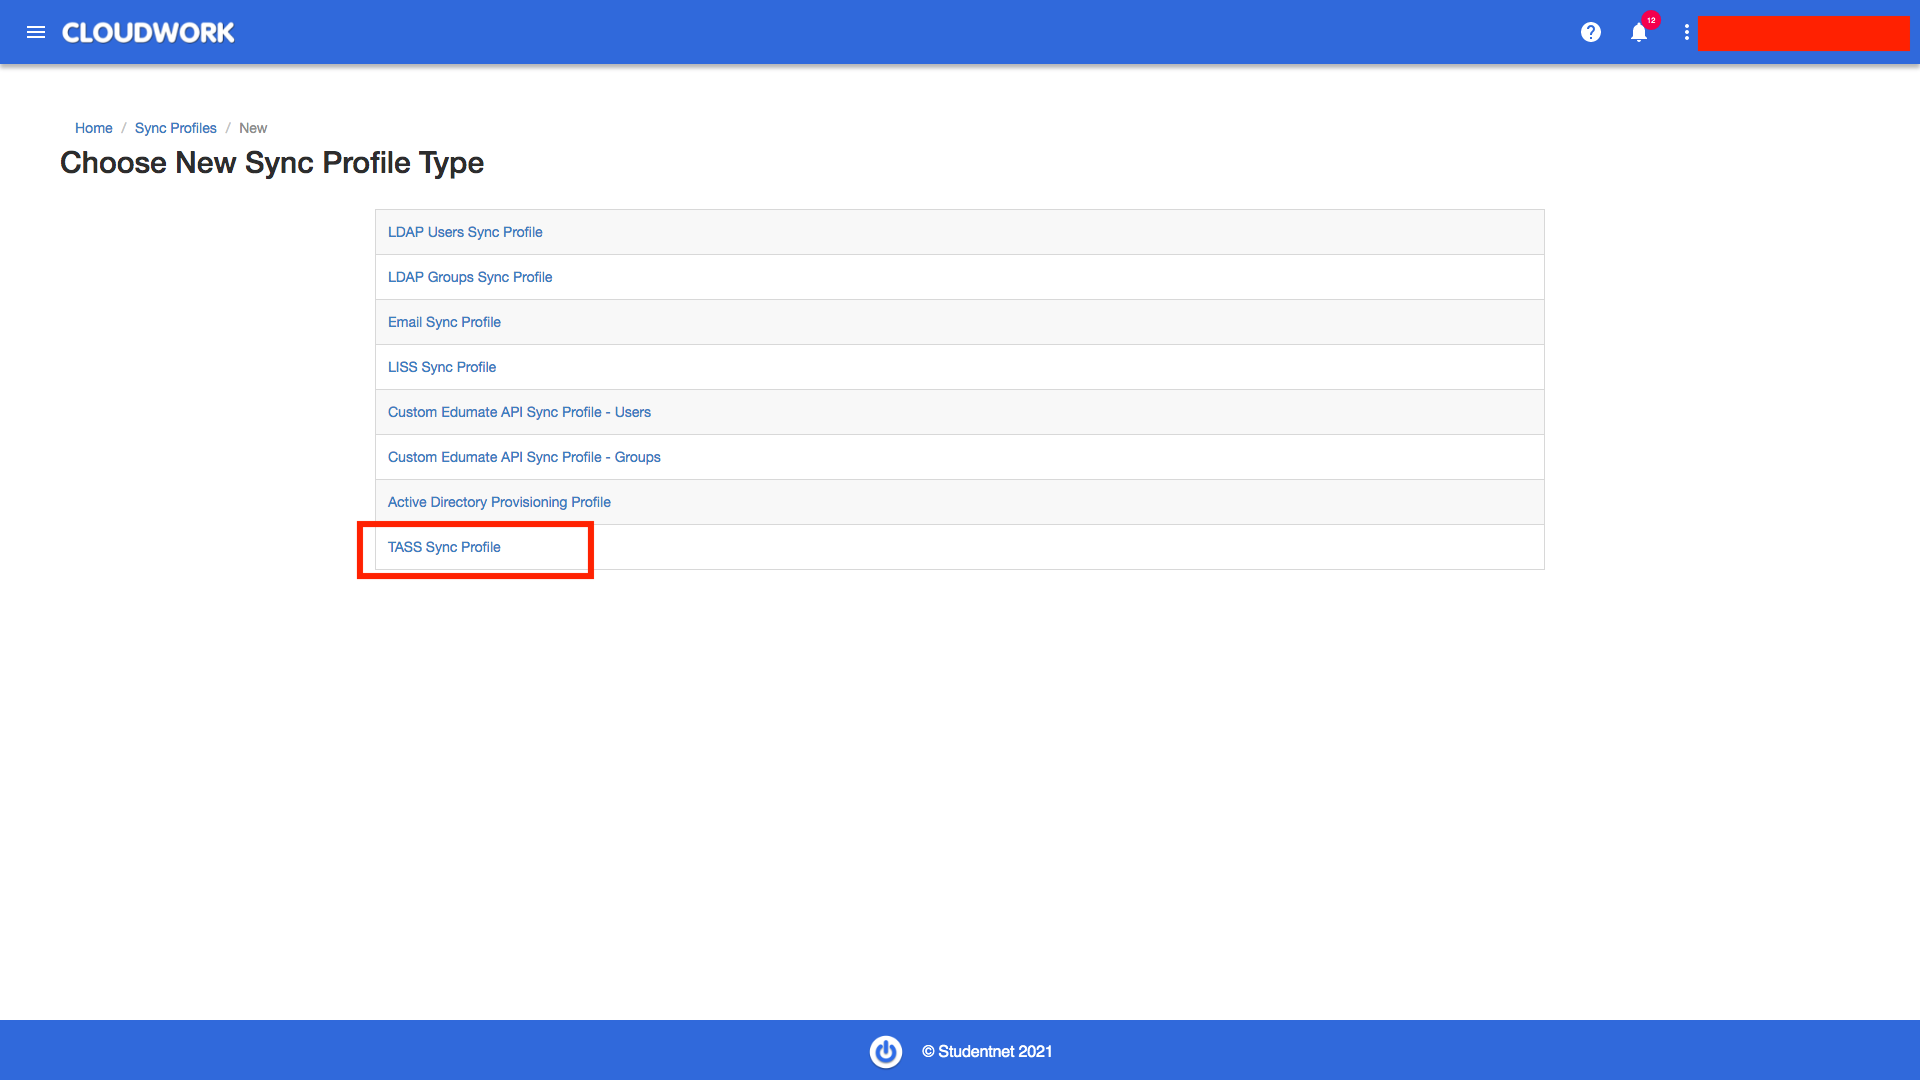
Select Tass Sync Profile from sync profile types
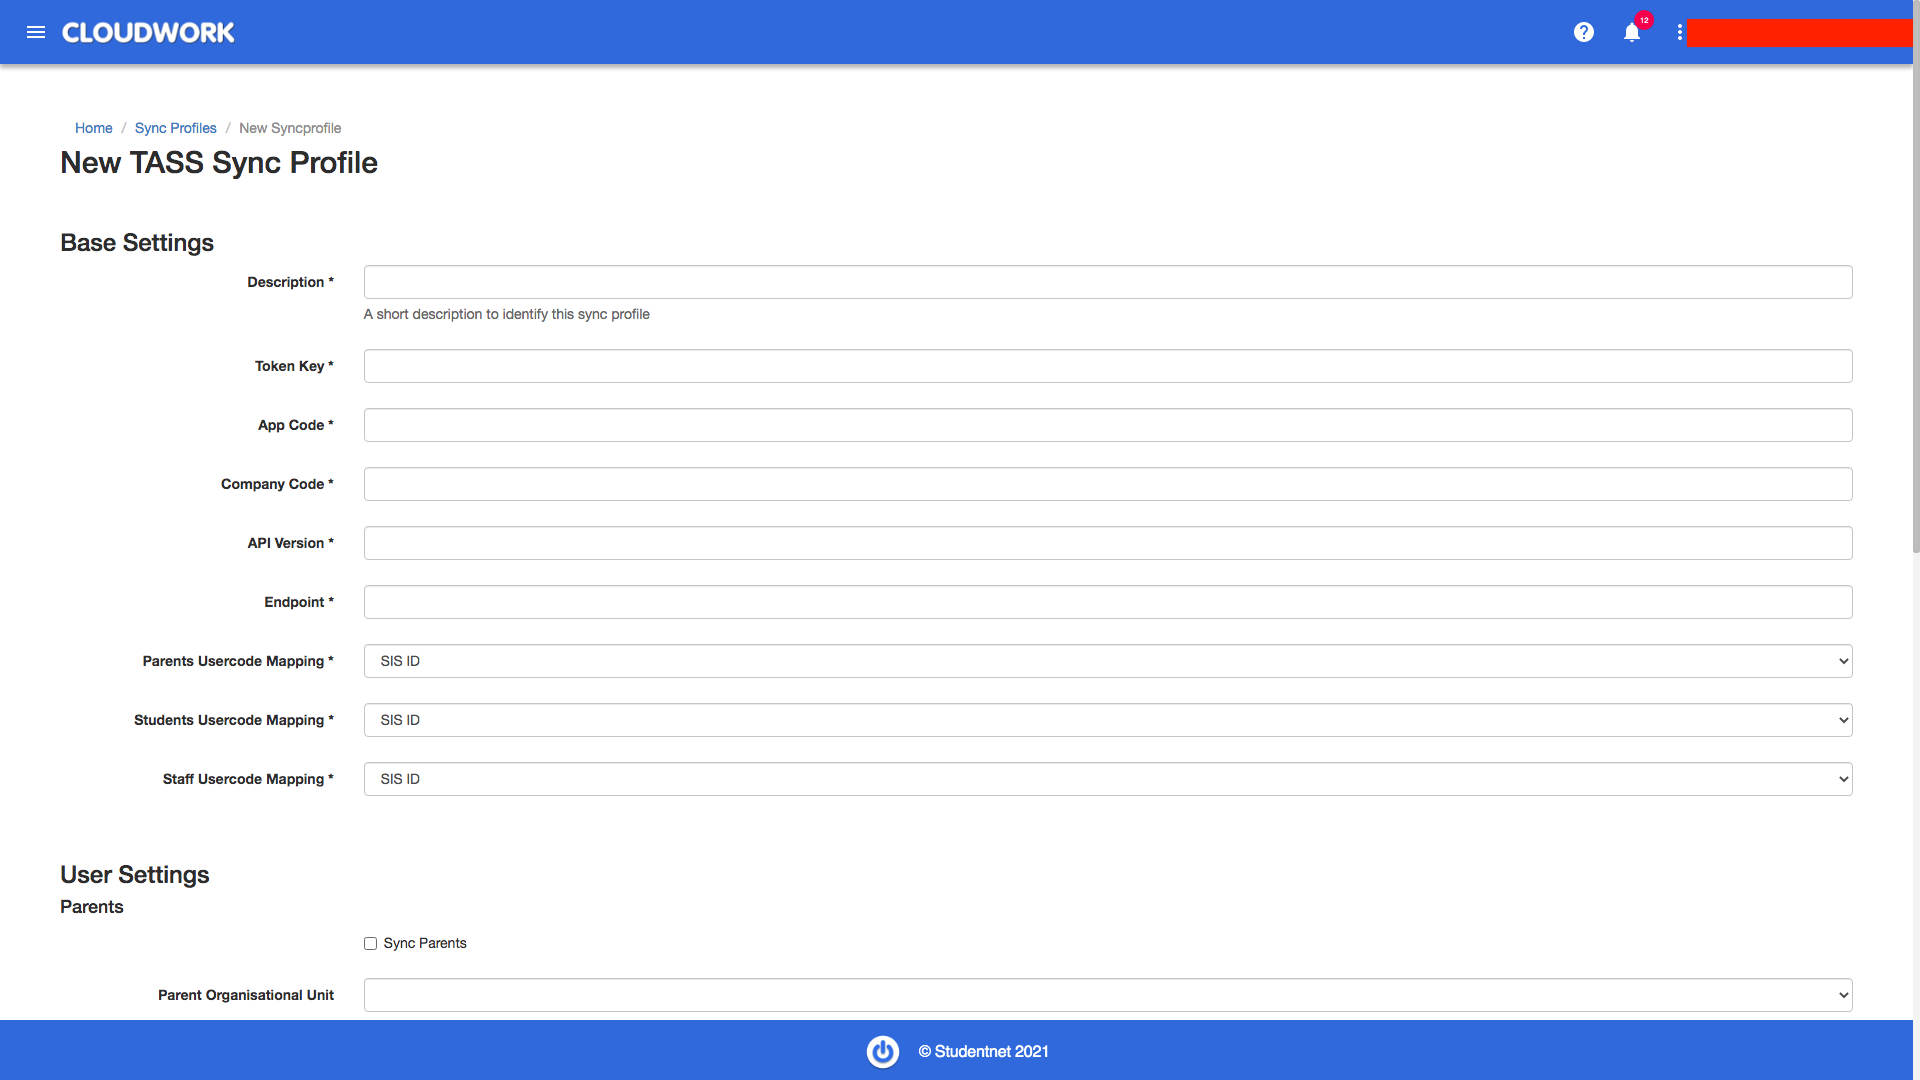
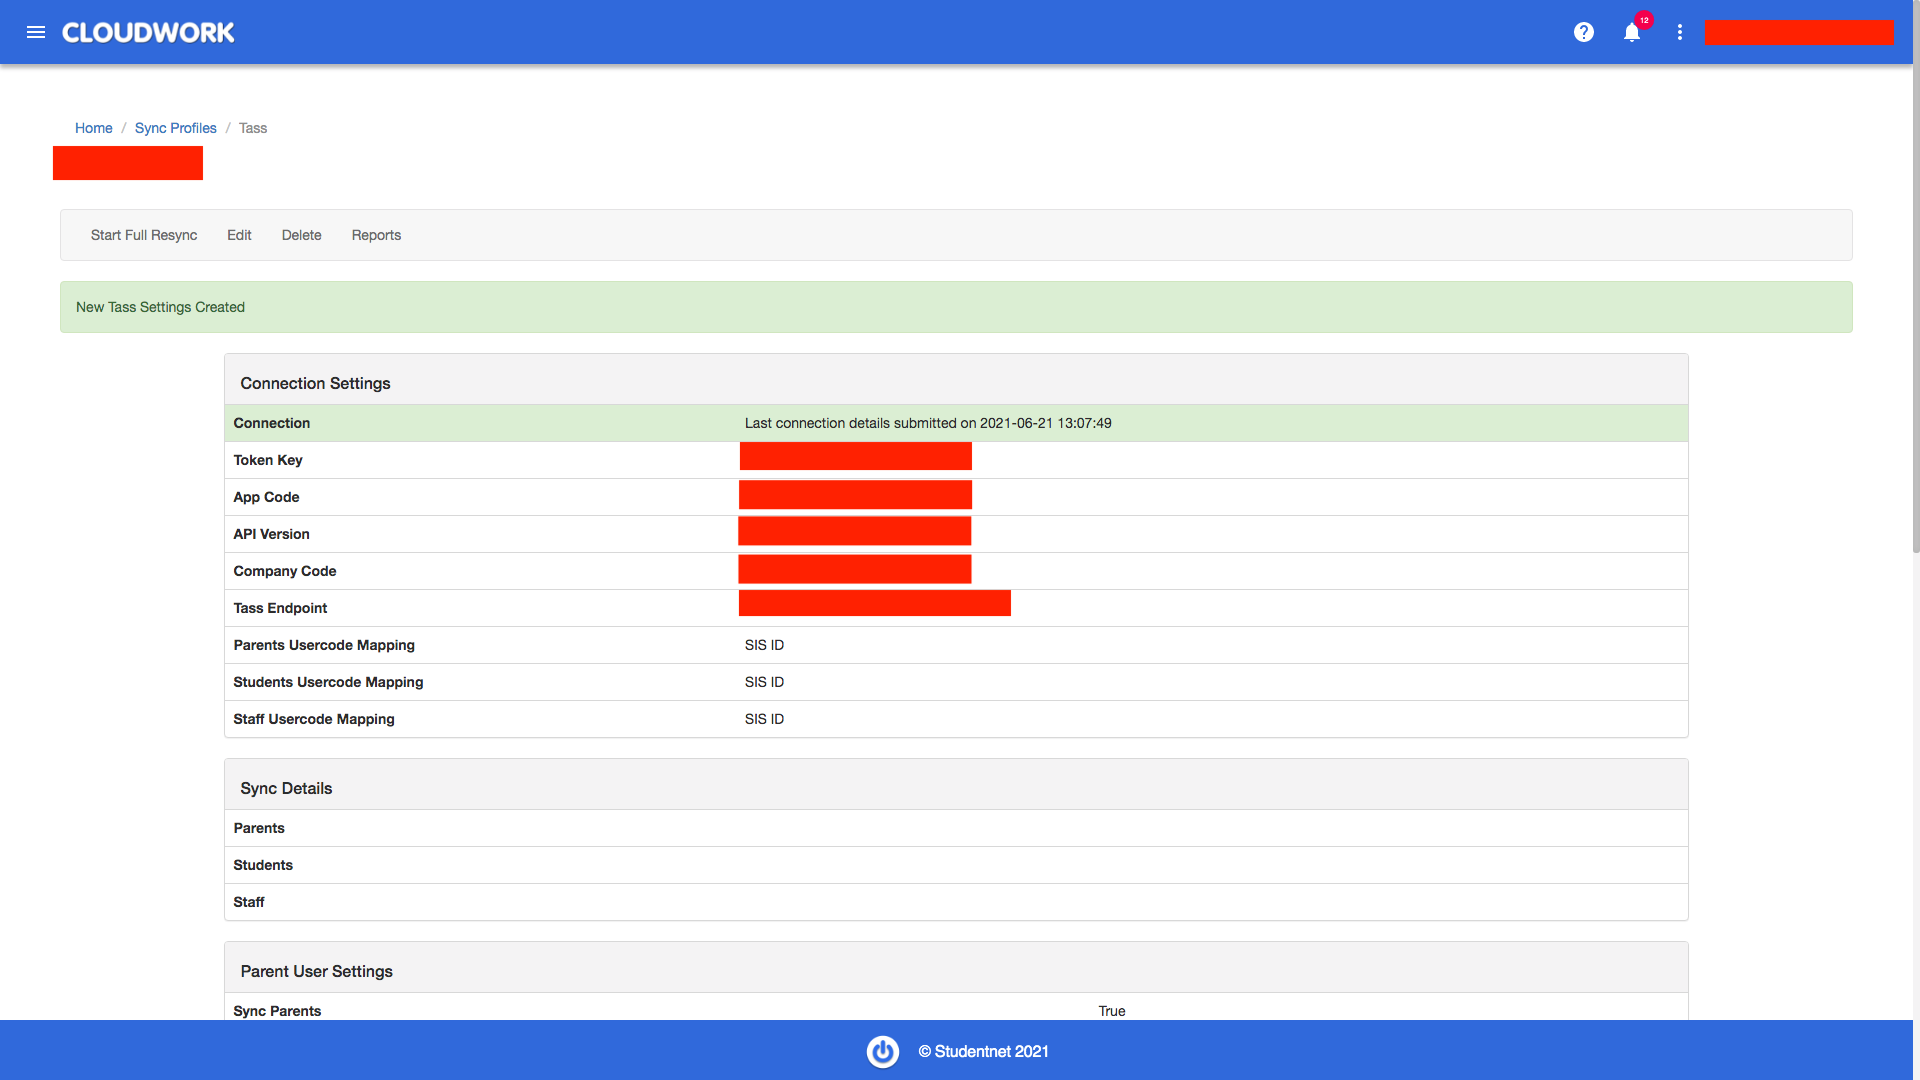
Under Basic Settings, input a simple description for this profile, and credentials provided by Tass.
Select the attribute to be mapped to Cloudwork for Tass under Parents Usercode Mapping, Students Usercode Mapping, Staff Usercode Mapping , choices include SIS ID (highly recommended) and User Name.
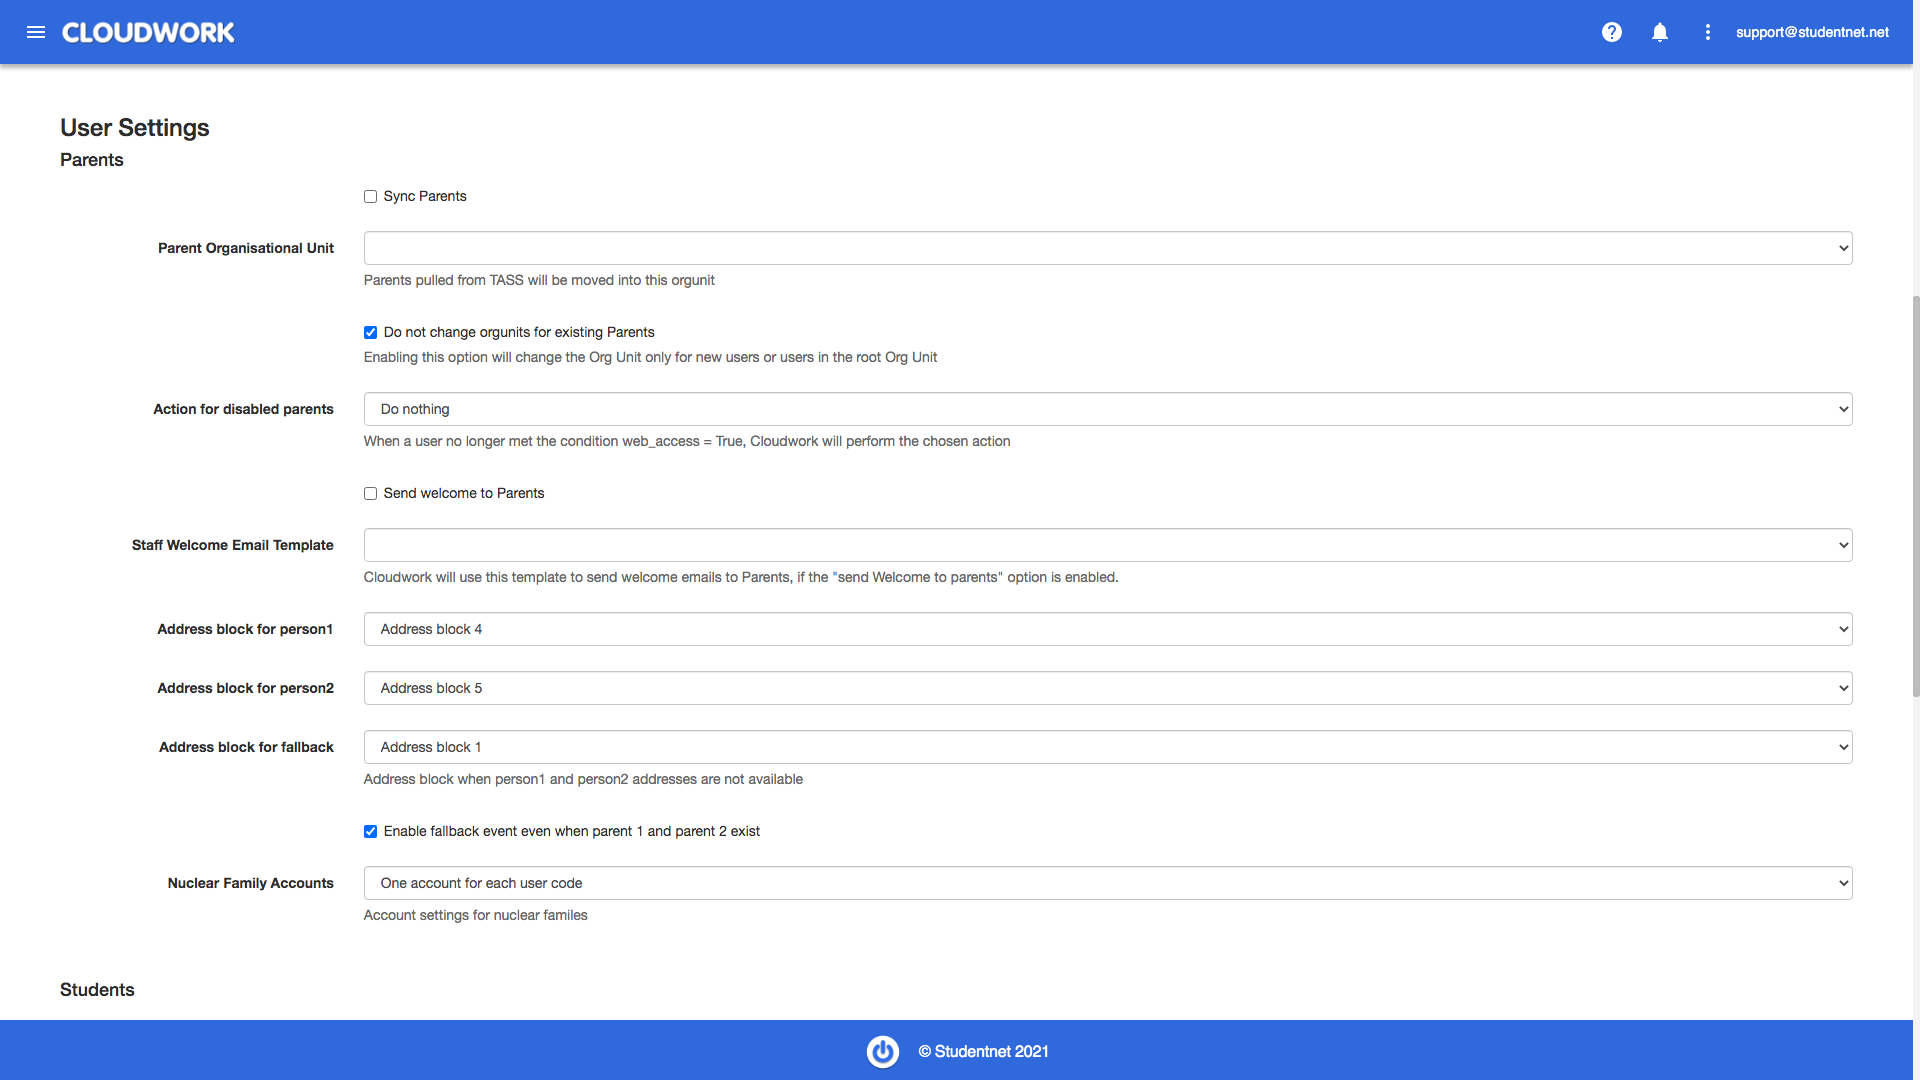
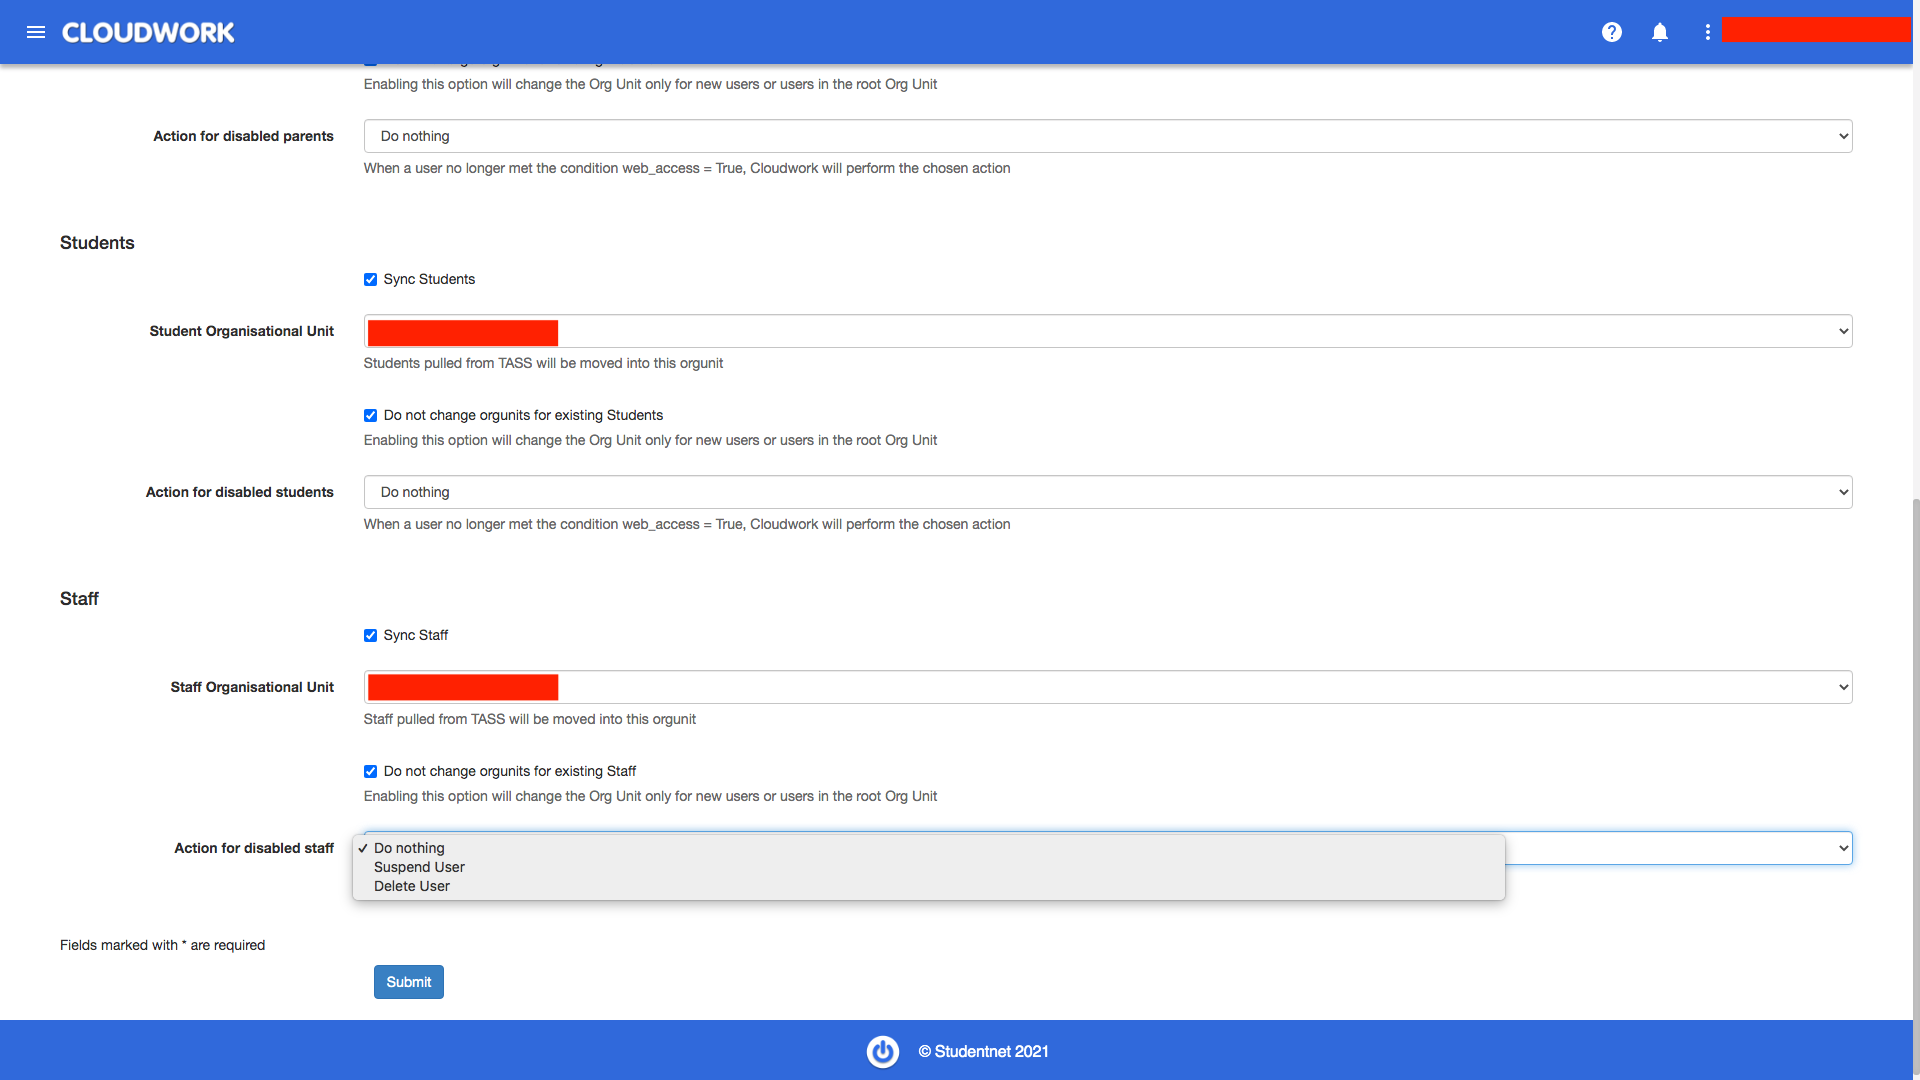
Under User Settings, there are 3 types of users:
- Parents
- Students
- Staff
For each type of user there are 4 settings:
- Sync users: Sync users
- Organisational Unit: Users pulled from Tass will be moved into the specified orgunit
- Do not change orgunits for existing users: Existing users will not be moved to orgunit set by the previous three fields
- Actions for disabled users: if users no longer meet the condition web_access = True, the selected action will occur. These actions include Do nothing, Suspend User, and Delete User.
Save the settings, there will be a green flash showing the creation is successful, and the information input creates a successful connection with TASS
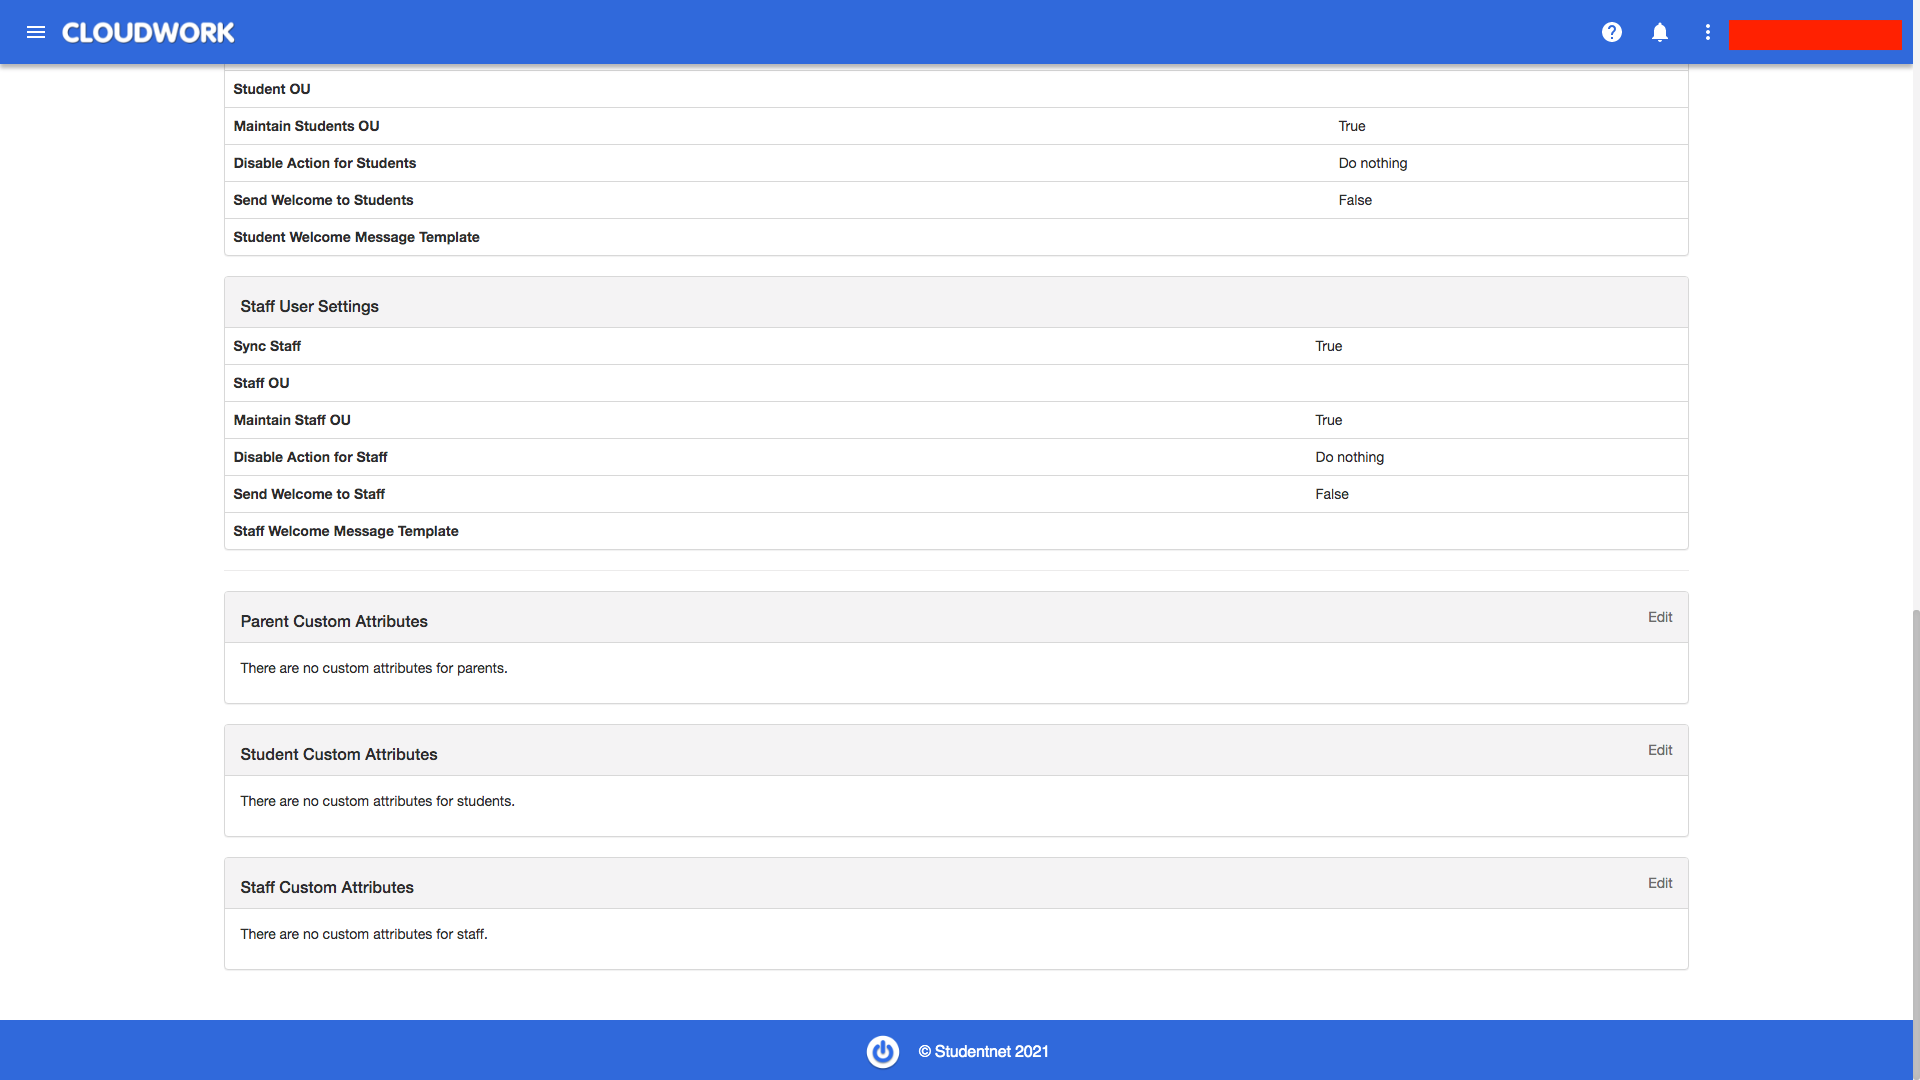
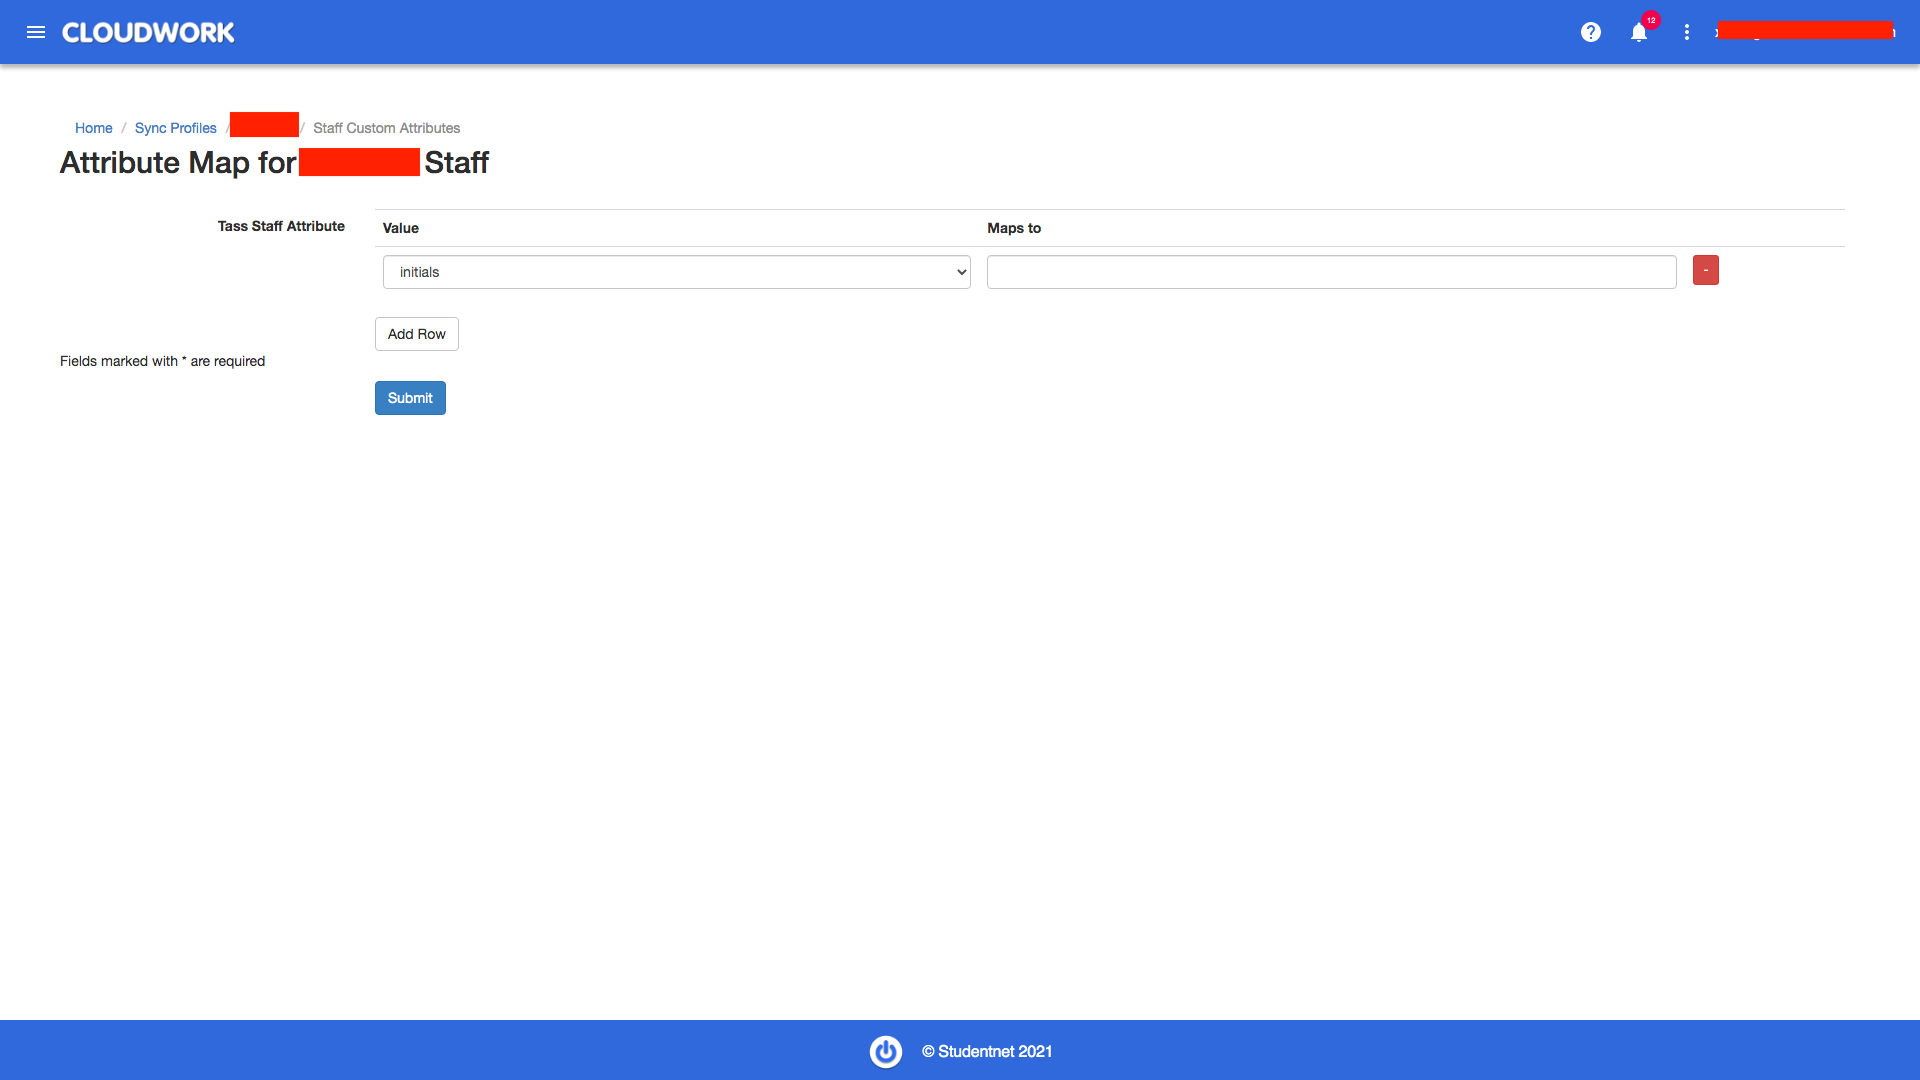
Scroll down, there will be 3 tables showing custom attributes for parents, students, and staff.
Click Edit for three tables and add custom attributes for three types of users.
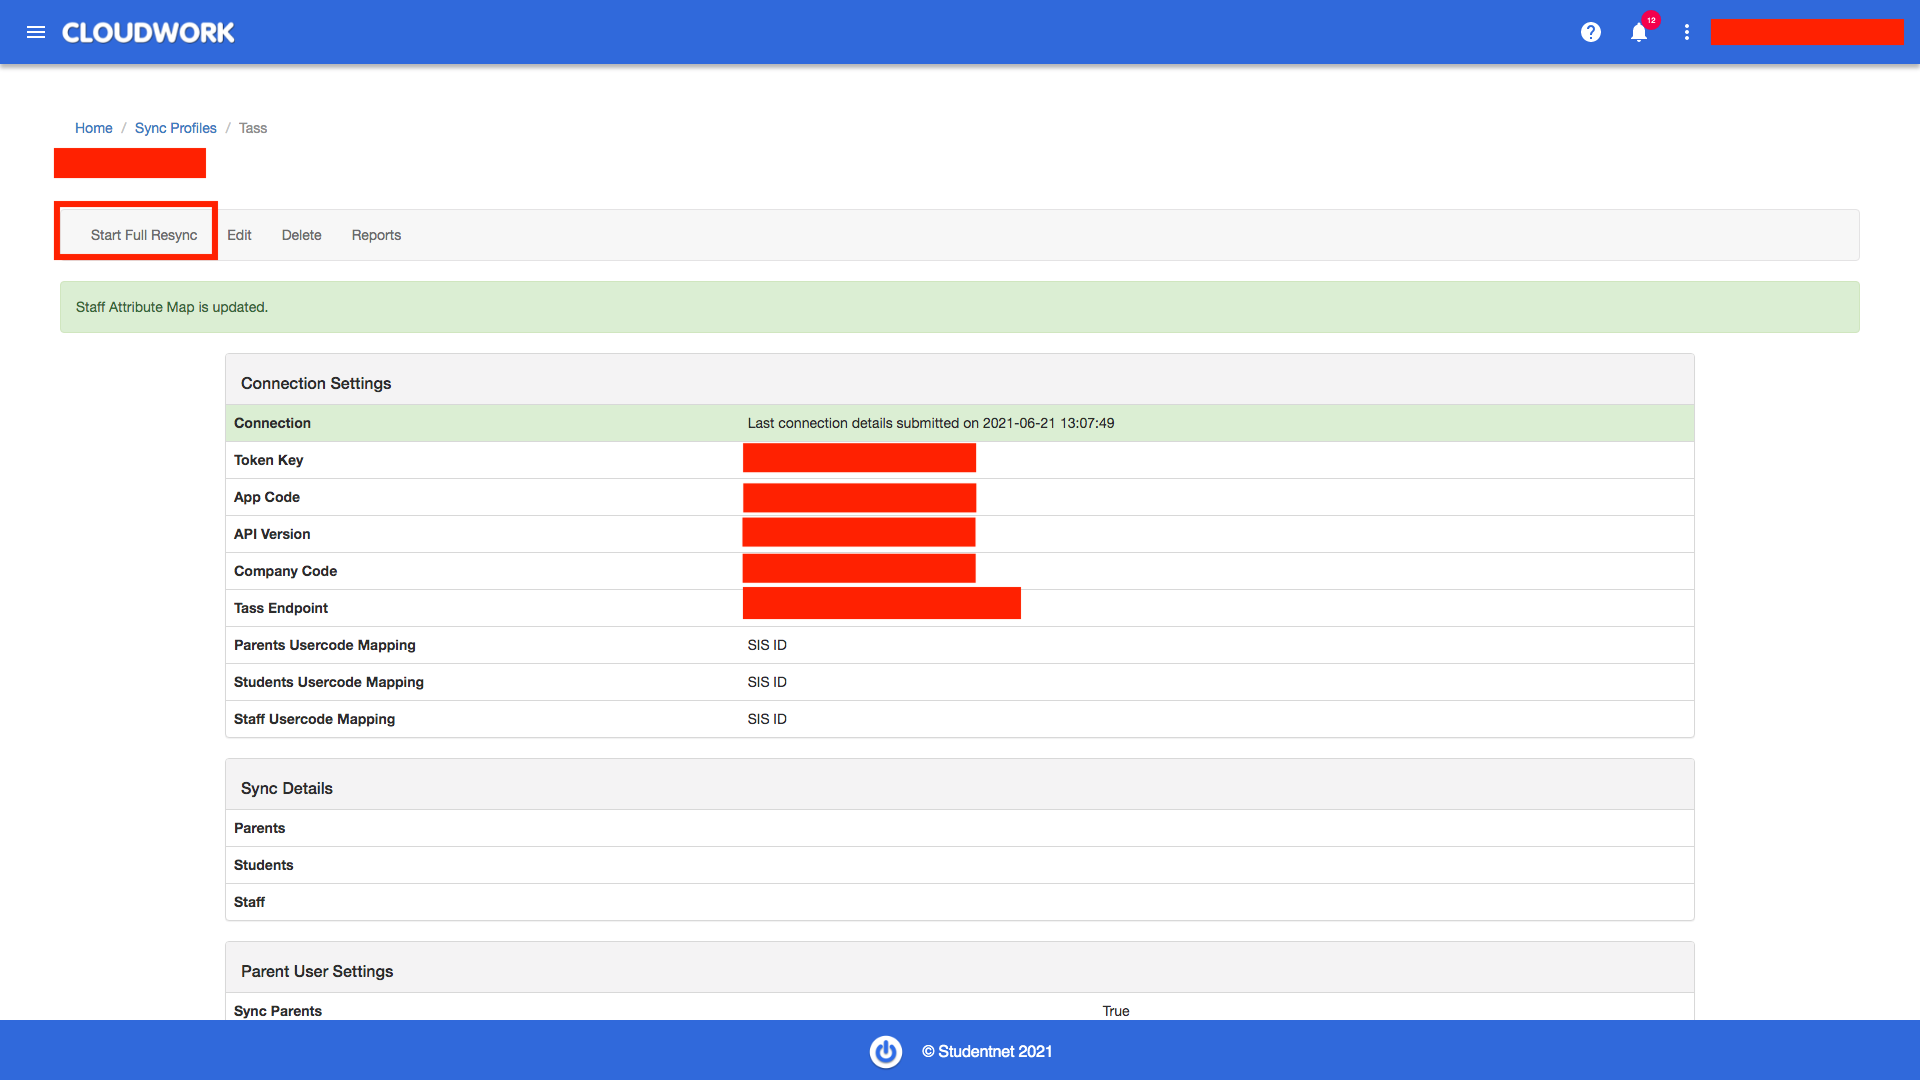
A green flash will show after the attributes are added.
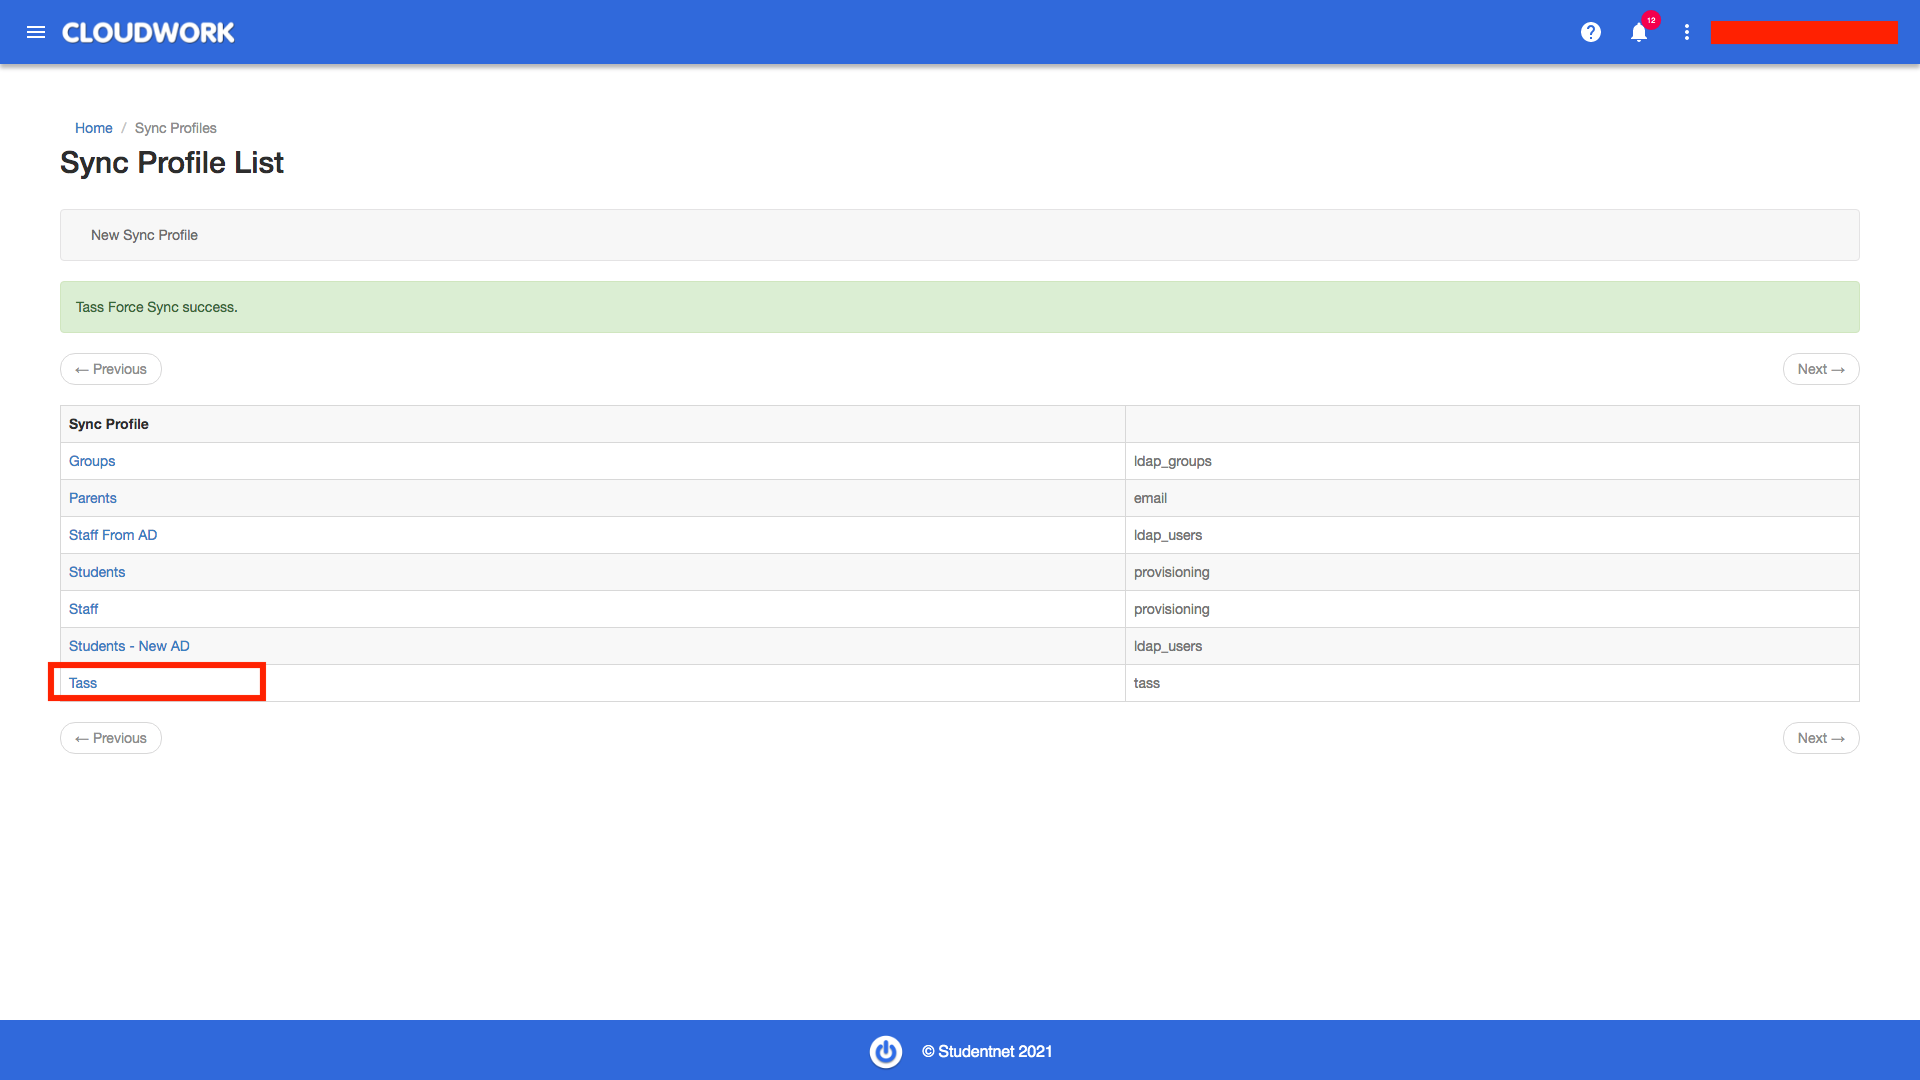
Click Force Sync for pulling users from Tass. A green flash shows the pulling process is successful.
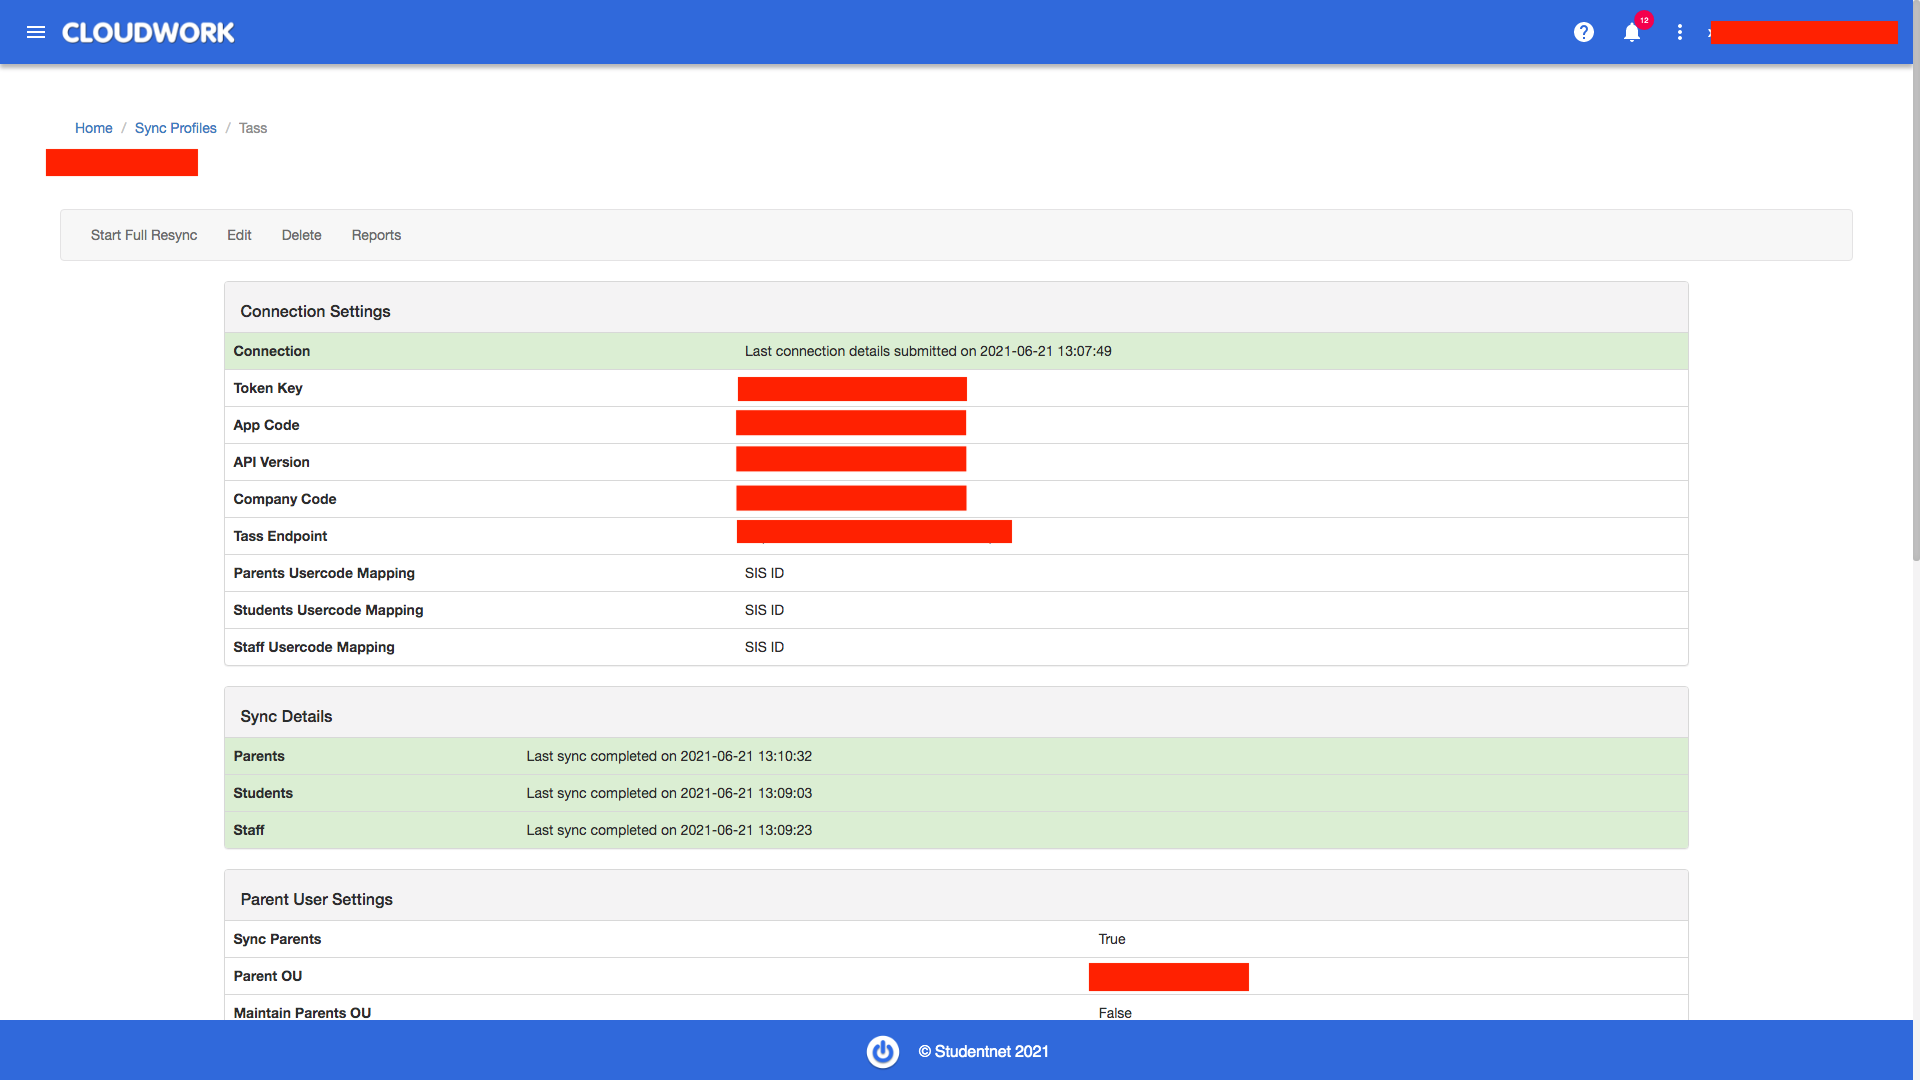
In the sync details table, the pulling result of three types of users will be shown here.
Heading to Users, select a pulled user, the extra attributes will be added.

