Vivi
Jump to navigation
Jump to search
Vivi is a wireless presentation tool that enables users to share, display, annotate, capture and save information in real time, from anywhere in the room.
Setup
Vivi Setup
When setting up Vivi you will be presented with this screen:

- SAML SSO URL: Found Cloudwork Dashboard>Single Sign On>Identity Provider>Metadata Details>Sign On Endpoint
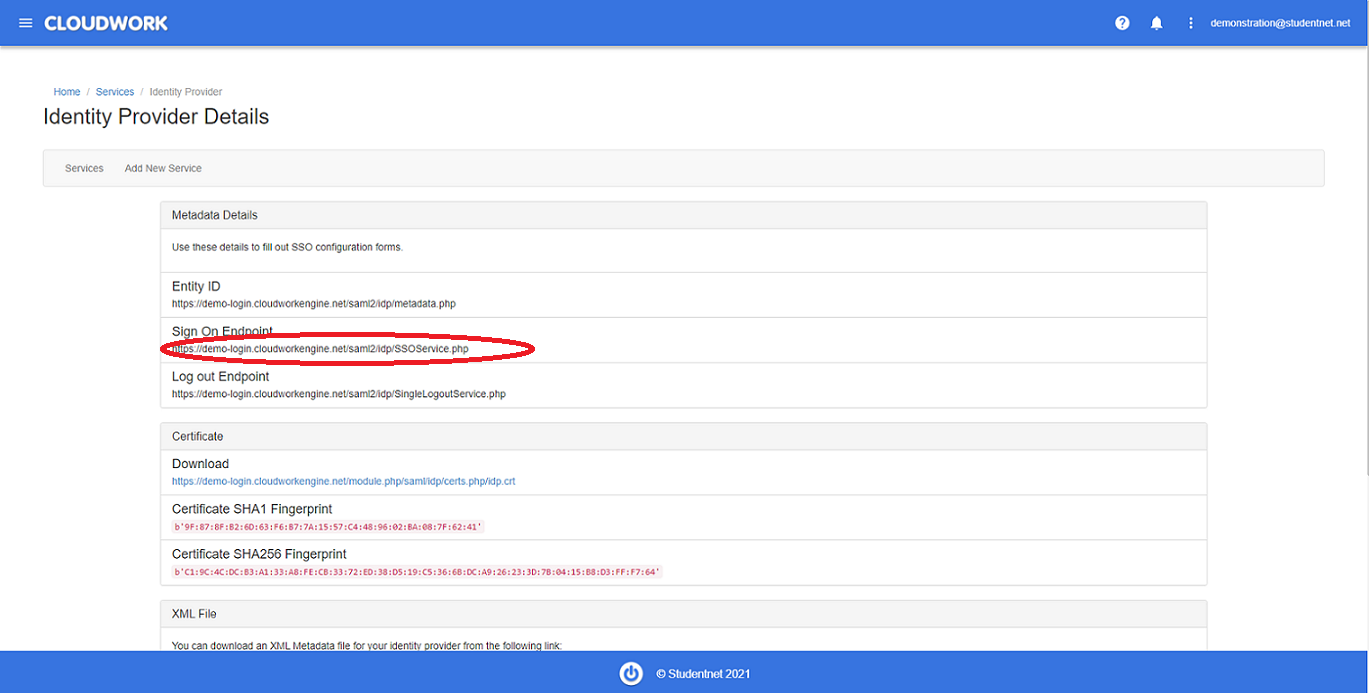 Example of Sign On Endpoint
 - SAML SLO URL: Found Cloudwork Dashboard>Single Sign On>Identity Provider>Log out Endpoint
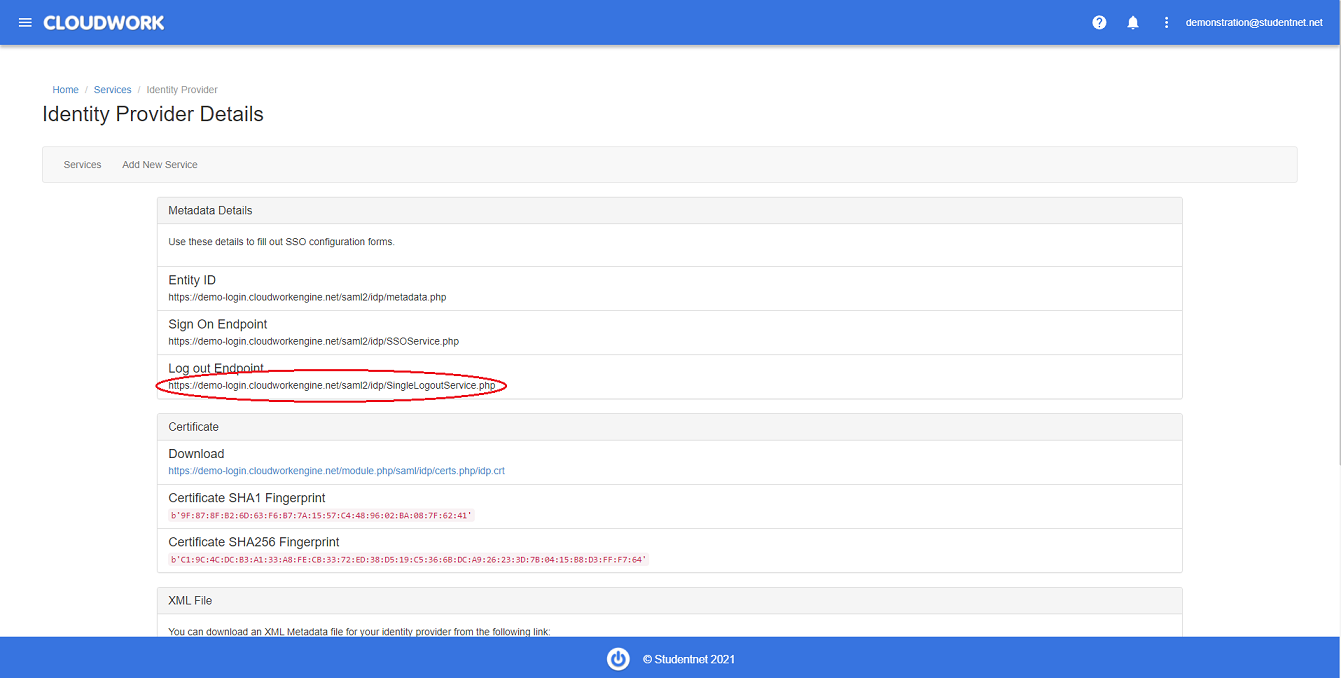 Example of Logout URL
 - SAML Token-Signing Certificate: Download the certificate from the Cloudwork Dashboard>Single Sign On>Identity provider>Certificate>Download Vivi will request a PEM format,in this case you just need to use the contents of the certificate file rather than the link. Let us know how this works for you.
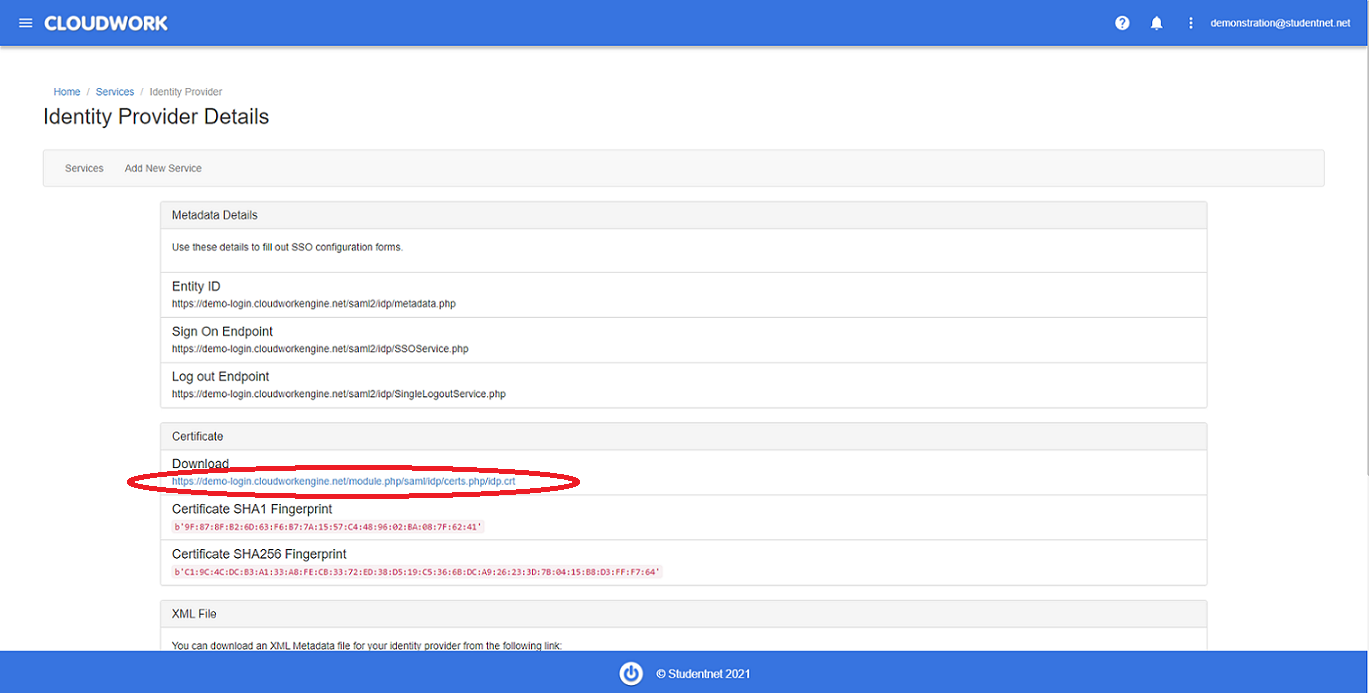 Example Certificate Download
 - SAML Name Attribute: givenName
- SAML Email Attribute: mail
- SAML Group Attribute: groups
- SAML Inheritance Code Attribute: Leave Blank and make sure require inheritance code is not enabled


You also need to work out how we define what a "Presenter" is and what a "Student" is. Usually this is just a distinction between students and teachers.
After finishing the Vivi Setup, it will create a metadata URL in format or https://api.vivi.io/api/v1/users/saml_metadata/<organisation_id> . Save This metadata url as an XML file.
Cloudwork Setup
- Log in to your school's Cloudwork dashboard
- Navigate to Single Sign On
- Click Add New Service
- Click Upload an XML File
- Upload metadata file that you recieved from Vivi and fill out the Name field