Difference between revisions of "Adobe Provisioning: Assigning Cloudwork Roles"
Jump to navigation
Jump to search
m (Dlim moved page Adobe: Assigning Cloudwork Roles to Adobe Provisioning: Assigning Cloudwork Roles) |
|||
| (3 intermediate revisions by the same user not shown) | |||
| Line 3: | Line 3: | ||
===Step 1: Create a new user=== | ===Step 1: Create a new user=== | ||
| − | After successfully logging into Adobe | + | After successfully logging into [https://www.adobe.com/go/devs_console_ui Adobe Developer Console], you can find '''Quick links''' on the top right corner to add users and admins. Click Add users. |
| − | [[File: | + | [[File:Adoberol1.png|1100px|Adobe Role 1]] |
Enter email and click Save. | Enter email and click Save. | ||
| − | [[File: | + | [[File:Adoberole2.png|1100px|Adobe Role 2]] |
===Step 2: Assign admin rights=== | ===Step 2: Assign admin rights=== | ||
| Line 16: | Line 16: | ||
Enter email address and click Next. | Enter email address and click Next. | ||
| − | [[File: | + | [[File:Adoberole4.png|1100px|Adobe Role 4]] |
Select the System Administrator (the first selection) and click Next. | Select the System Administrator (the first selection) and click Next. | ||
| − | [[File: | + | [[File:Adoberole5.png|1100px|Adobe Role 5]] |
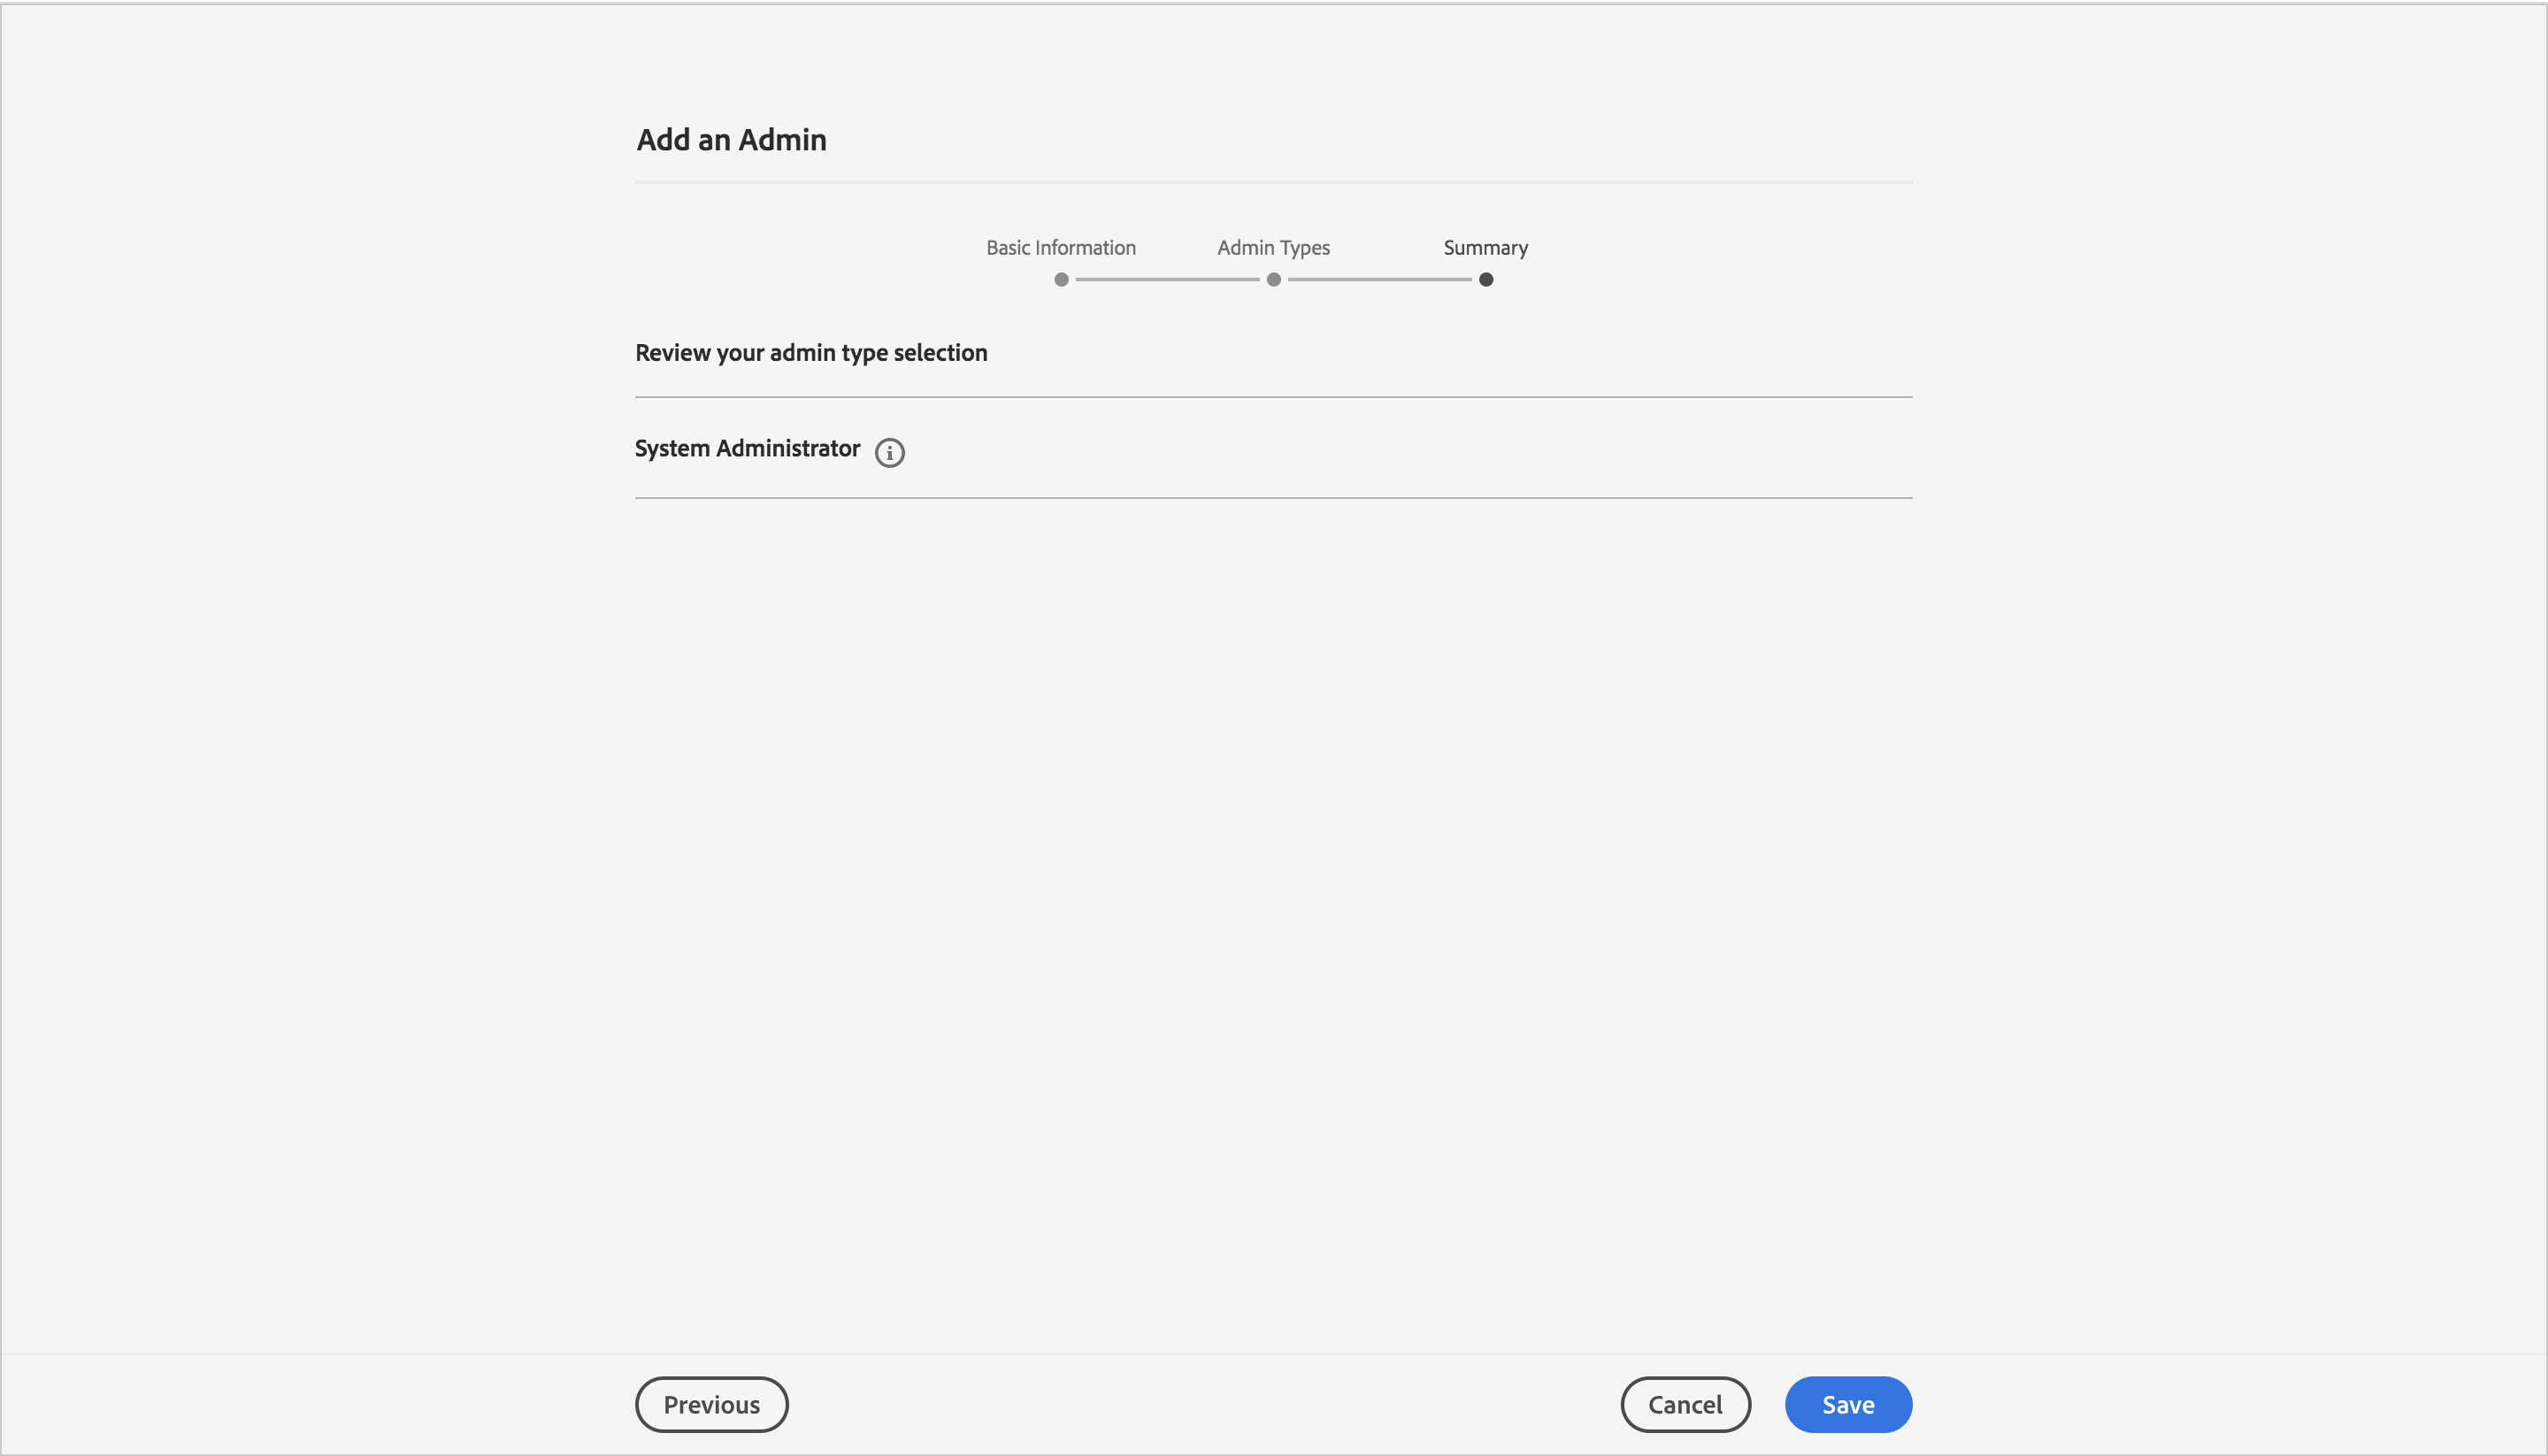
Click Save. | Click Save. | ||
| − | [[File: | + | [[File:Adoberole6.png|1100px|Adobe Role 6]] |
| + | |||
[[Category:Cloudwork Dashboard]] | [[Category:Cloudwork Dashboard]] | ||
Latest revision as of 06:56, 18 June 2021
Assigning Roles on Adobe
You can either create a project on your own and provide us with the information or assign us a role to do so. If you want to let us do it, you can follow the procedure shown below:
Step 1: Create a new user
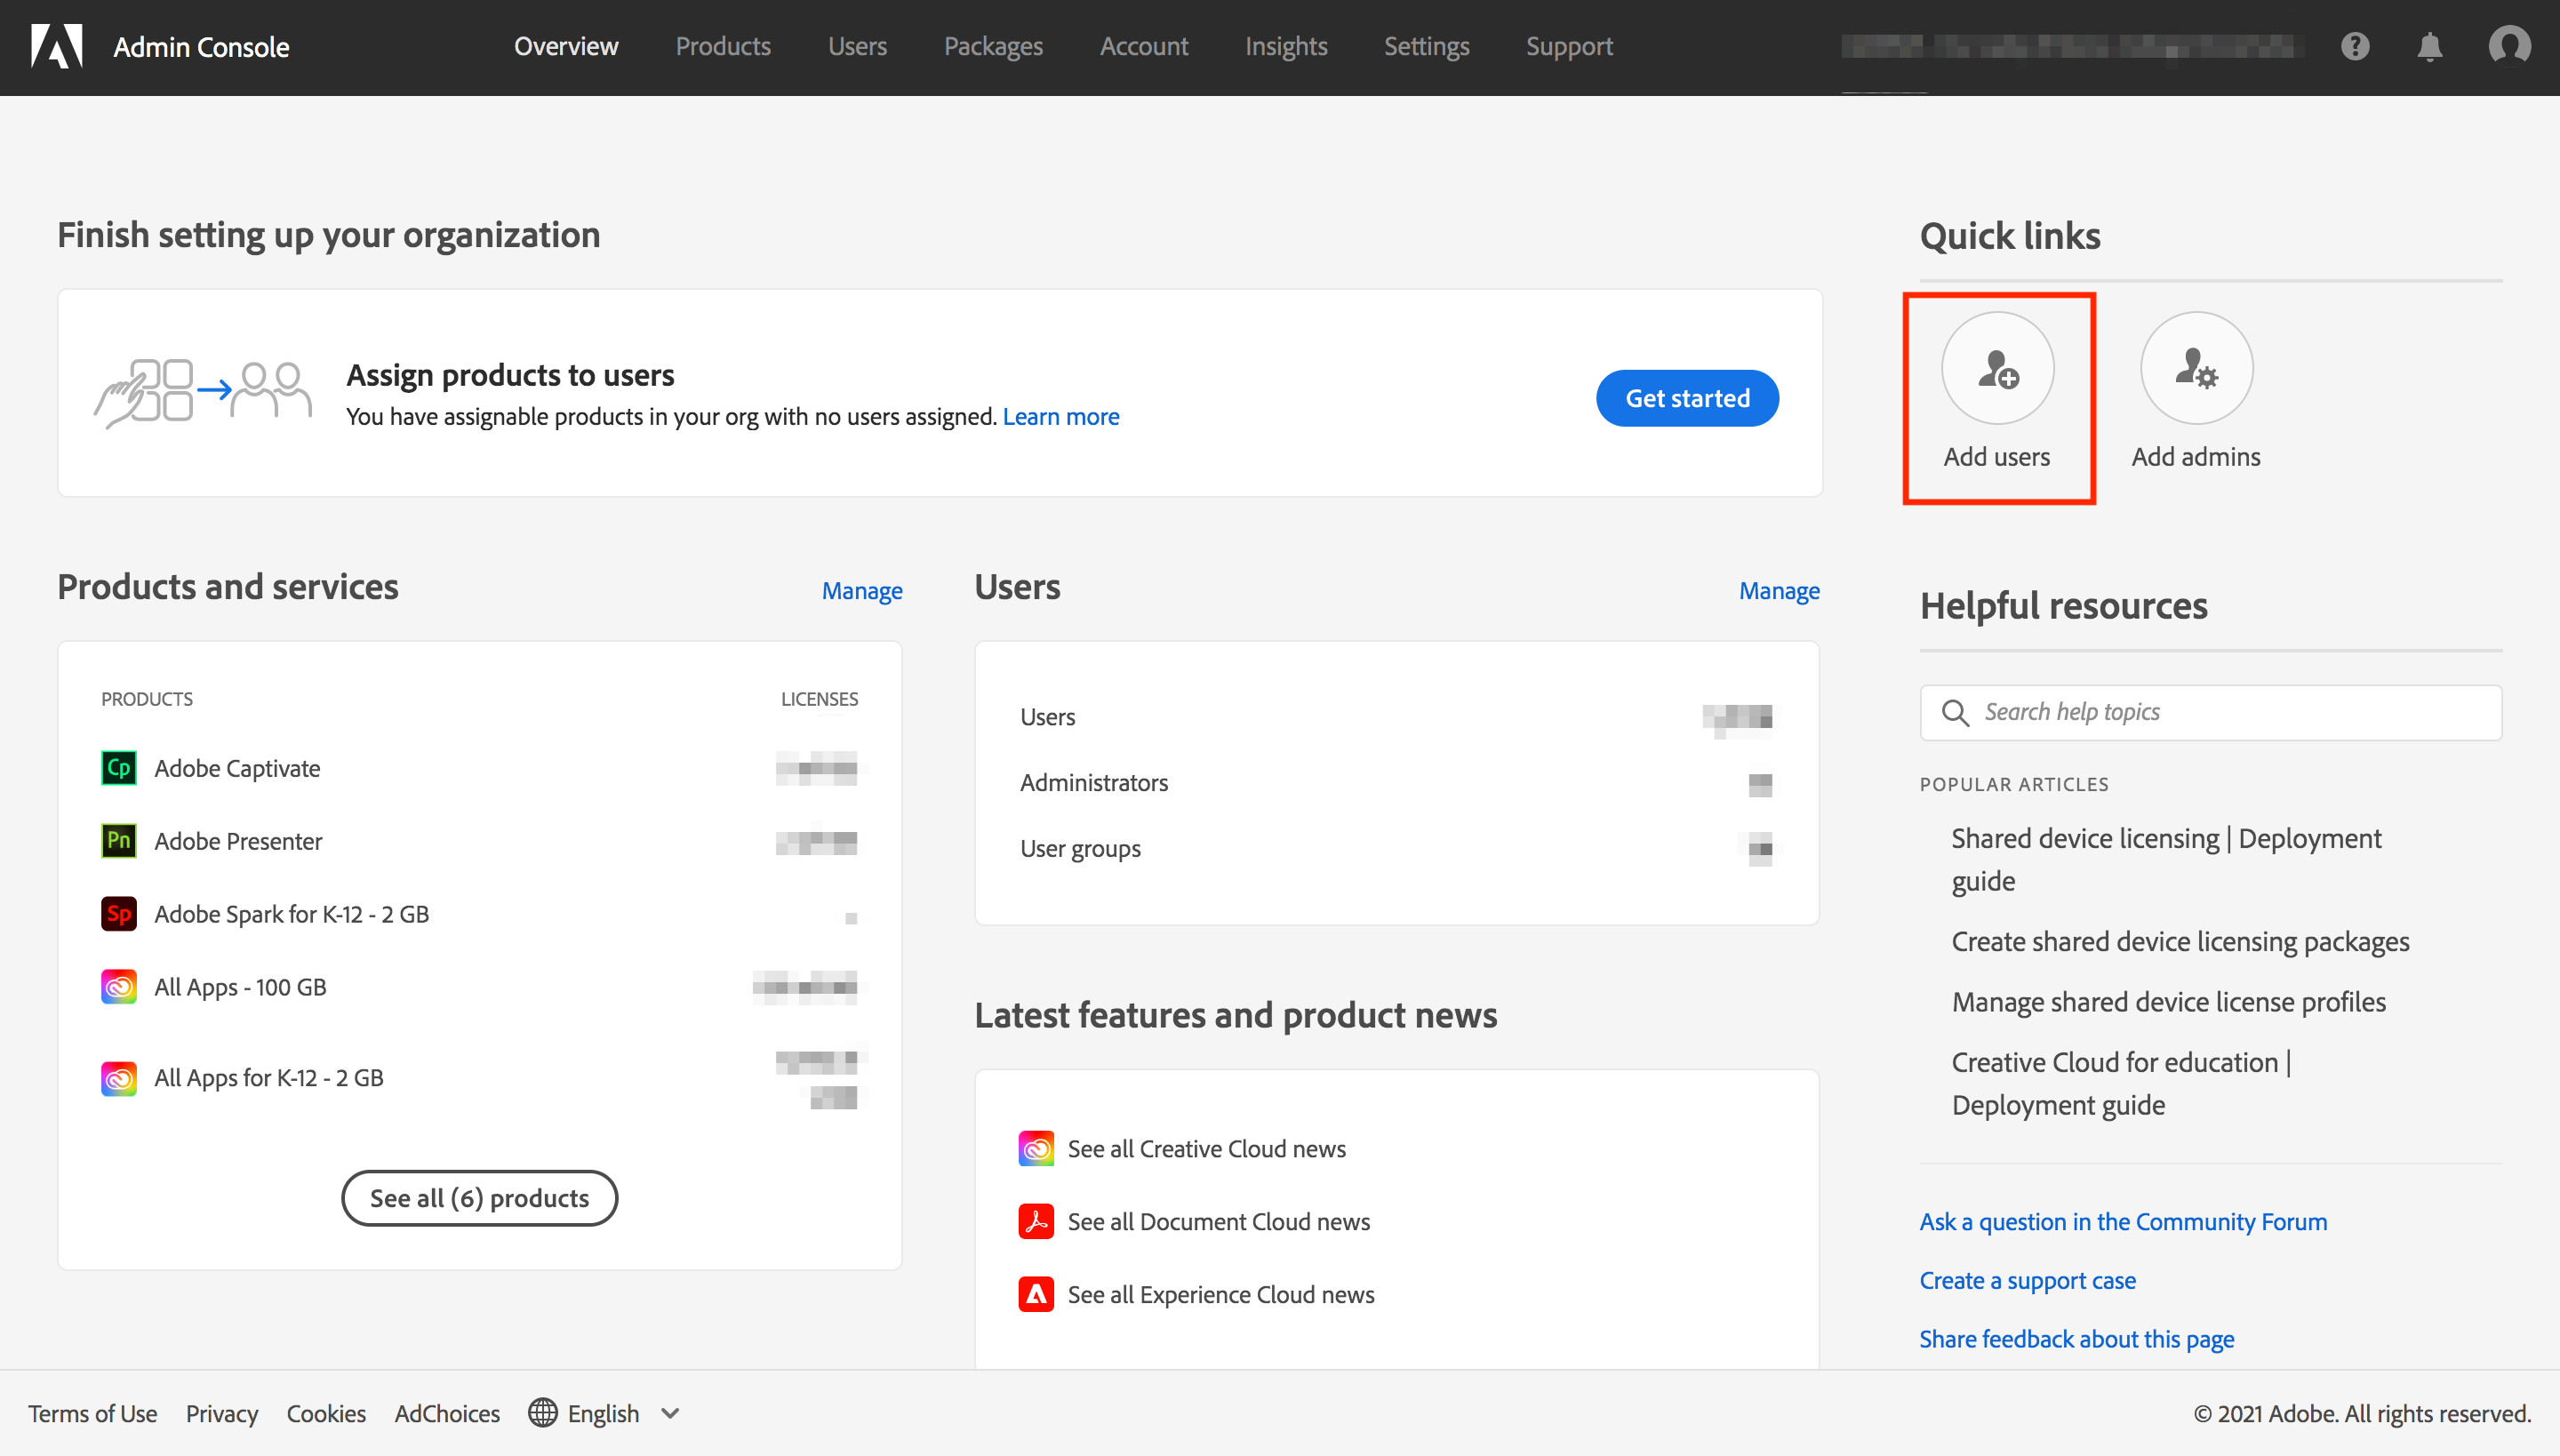
After successfully logging into Adobe Developer Console, you can find Quick links on the top right corner to add users and admins. Click Add users.
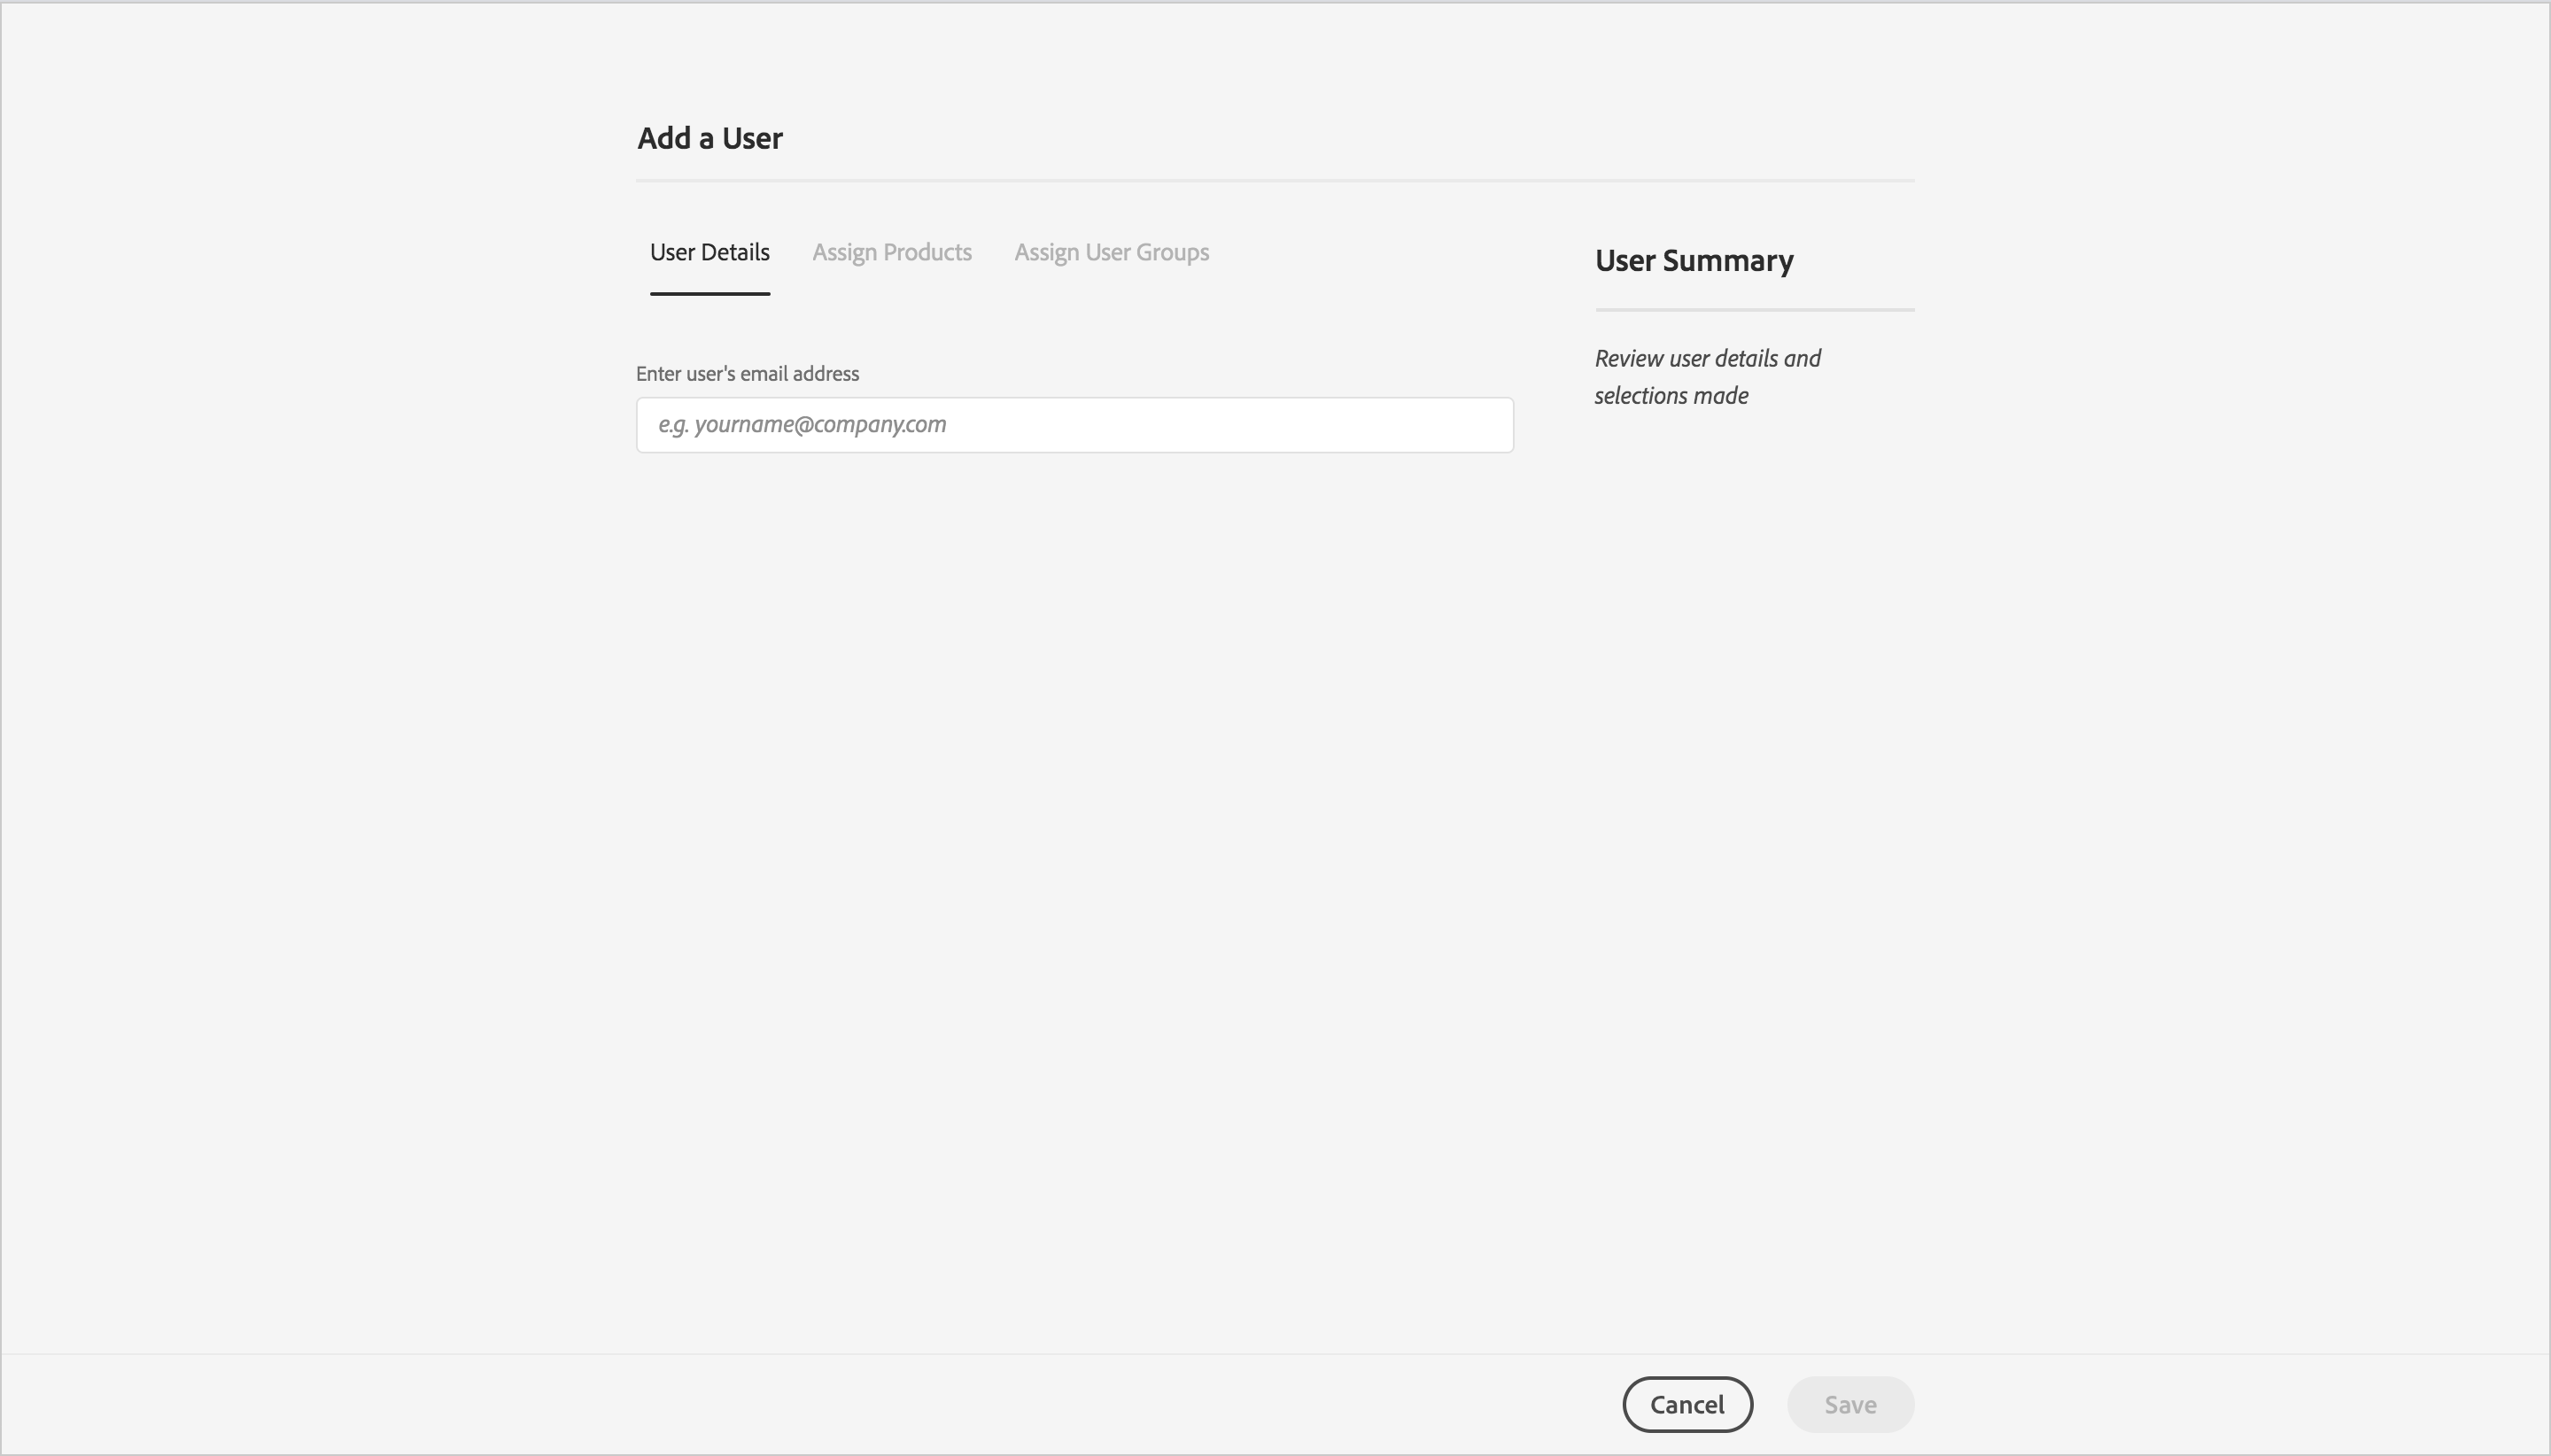
Enter email and click Save.
Step 2: Assign admin rights
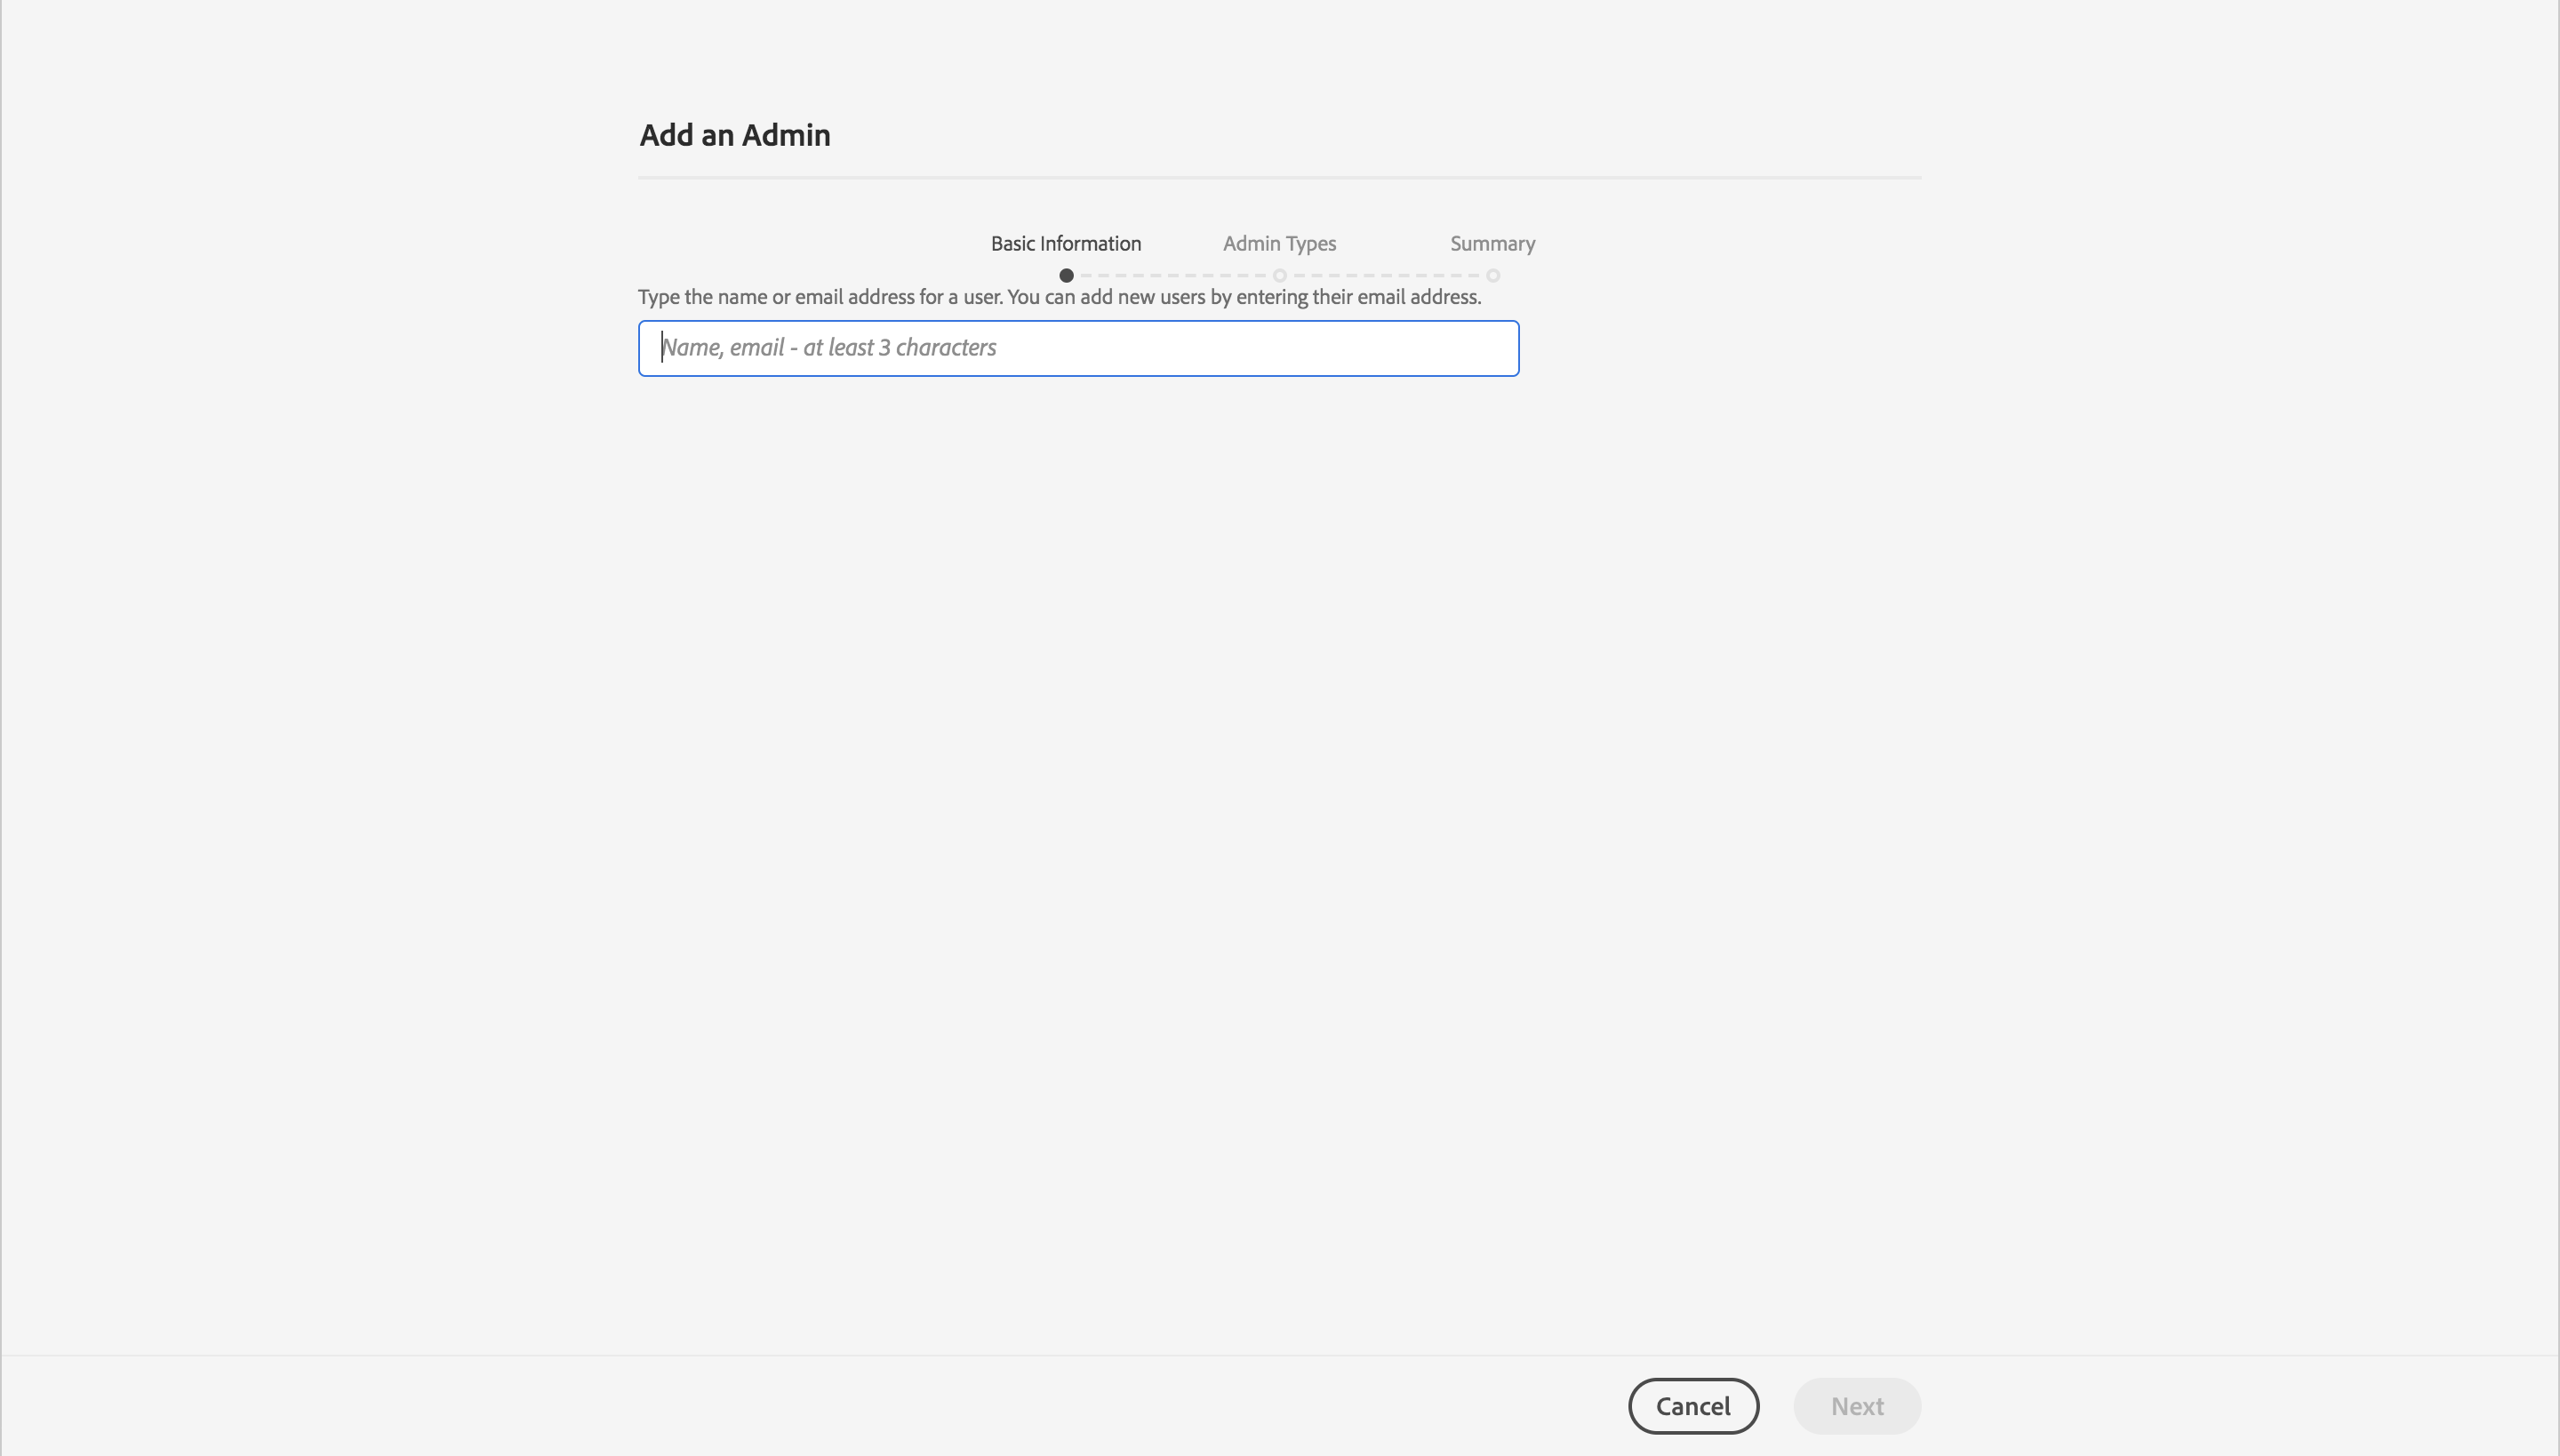
Navigate back to home. Click Add admins from Quick links. Enter email address and click Next.
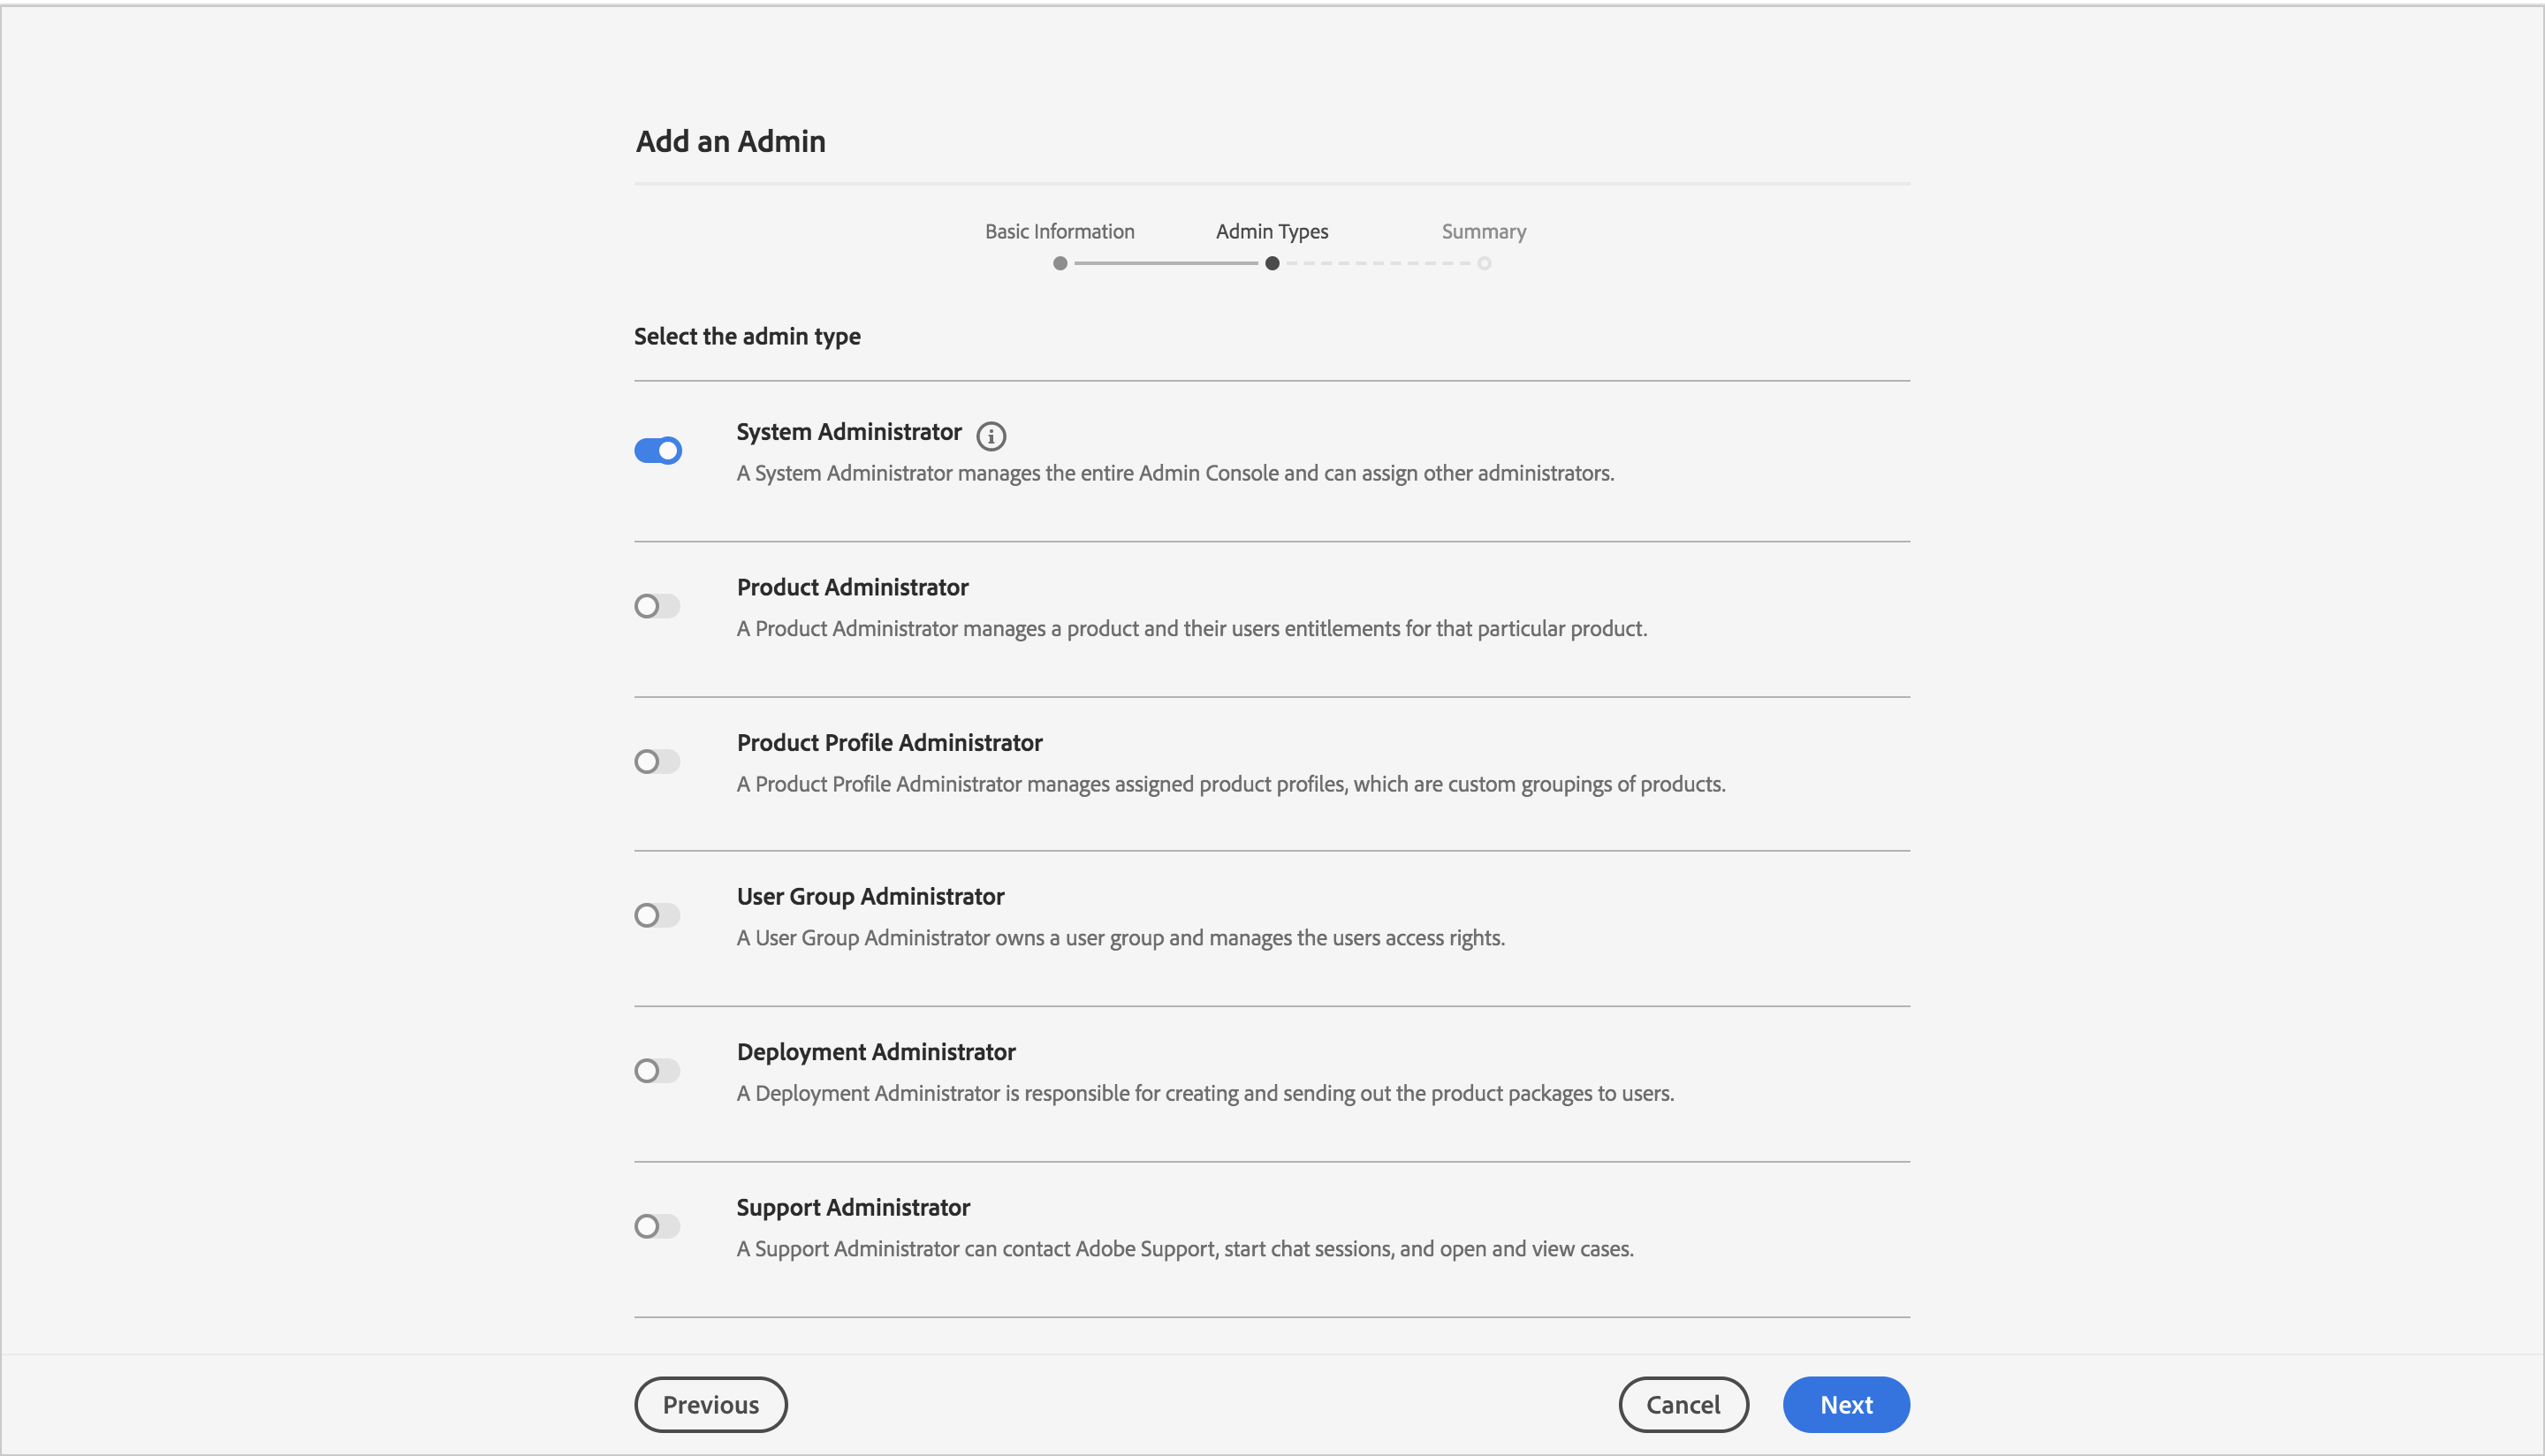
Select the System Administrator (the first selection) and click Next.
Click Save.
